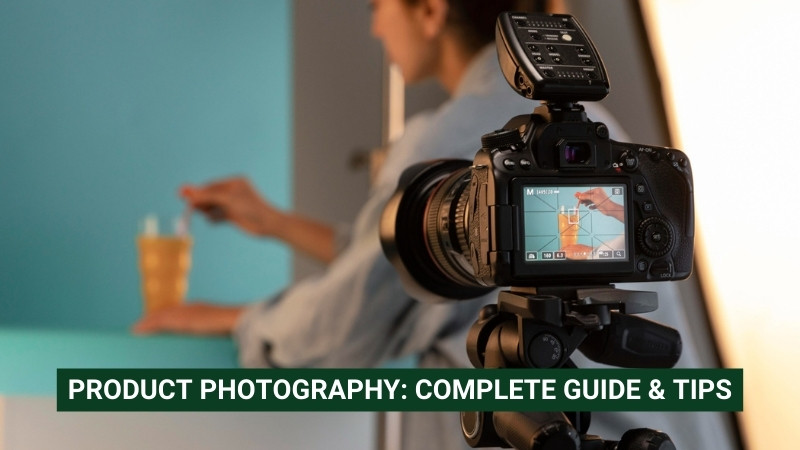
23 May Product Photography: Complete Guide And Tips
When you first visit an online store, what captures your attention first: the product description or the product photograph?
According to studies, 83% of US shoppers say product images significantly impact their purchasing decisions.
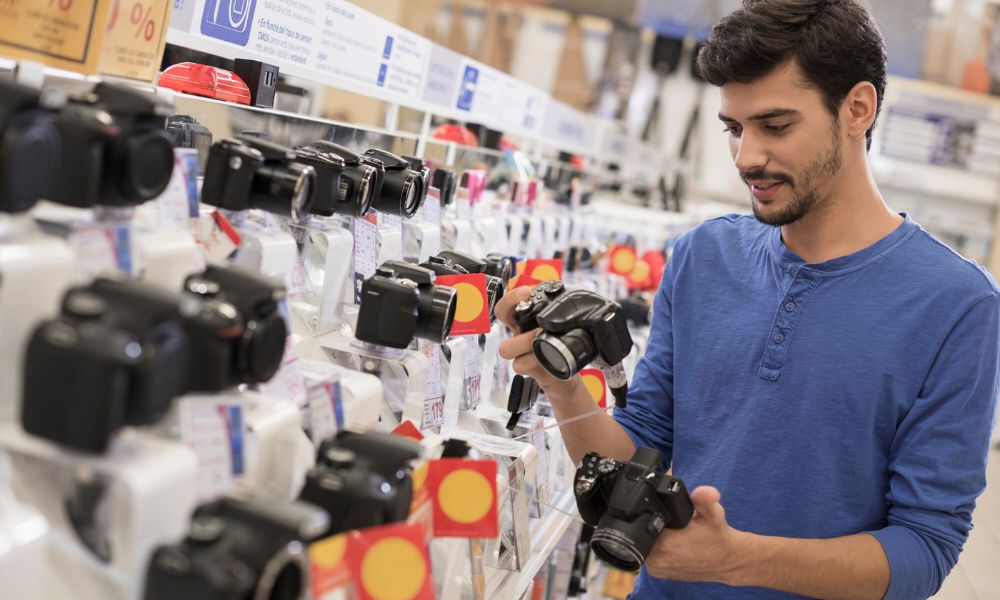
So, you can guess the importance of using high-quality product images in the eCommerce industry. In this comprehensive guide, we will walk you through 10 types of product photography, explaining how they are captured and their specific purposes. You will also learn about the essential tools required for professional-quality photography. Additionally, we’ll share expert tips to elevate your photography skills to the next level.
What is Product Photography?
Product photography is a type of commercial photography that involves capturing high-quality images of products while highlighting their unique features. These photographs are used in advertising, marketing, and e-commerce platforms.
The main purpose of product photography is to make the products look jaw-dropping so that customers cannot resist their urge to check them out and ultimately drive sales.
Types of Product Photography
Every product has unique features. You need to capture them using various techniques and angles to make those fine details stand out in your product images. The following are 10 popular types of product photography that brands mostly use on eCommerce sites, social media, and other advertising platforms to promote their products.
Individual Product Photography
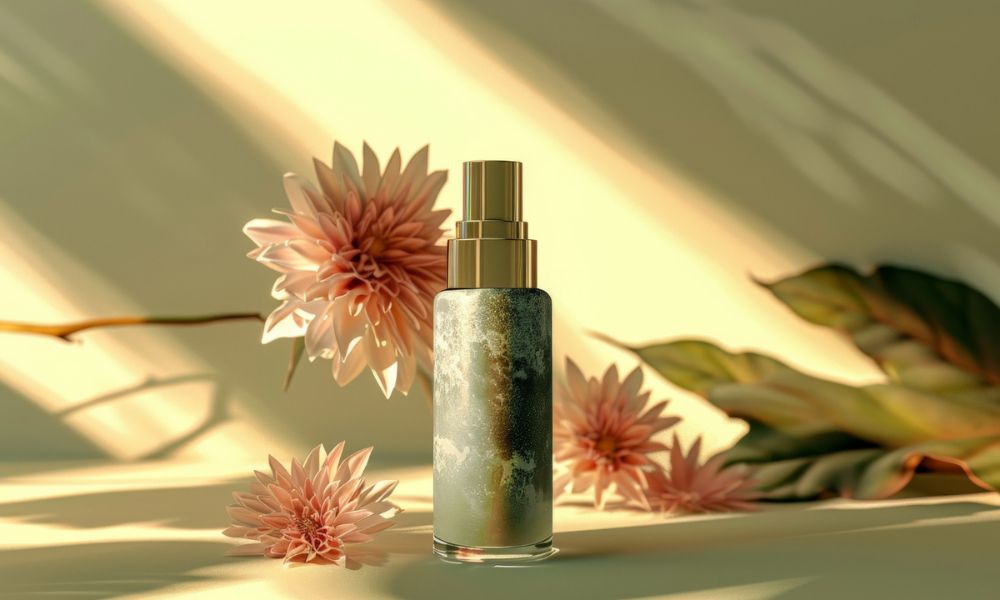
Individual product photography is the most popular category of images used to promote products on eCommerce sites as well as social media. This is considered the standard form of the product image. In this image, only one product is captured against a clean background.
Usually, this shot is taken using the center position and the rule of thirds to make the product look attractive. This type of image is ideal to showcase the intricate and unique details of the product. You can take the shot from different angles that make the product look its best.
Group Product Photography
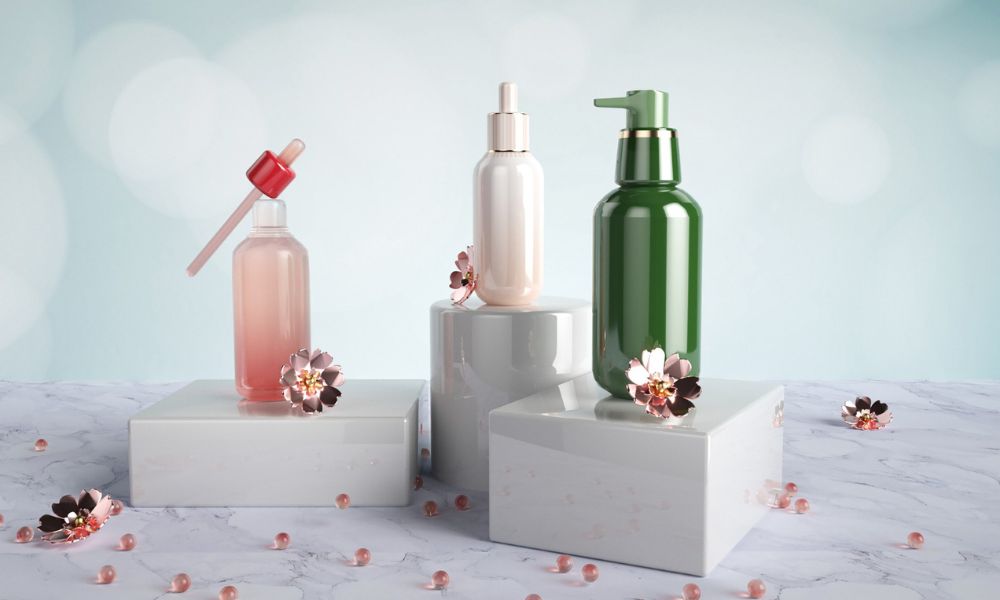
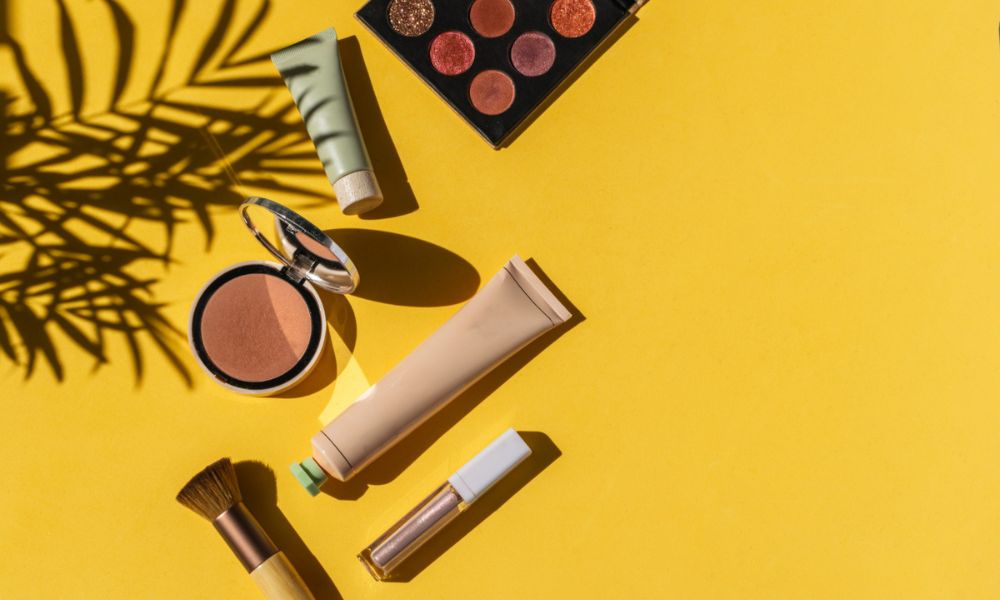
Have you seen ad campaigns of different brands on Instagram, Pinterest, or in magazines showcasing their product lines or collections? That’s group product photography. This type of photography is popular in the beauty industry, like skincare, makeup, jewelry, etc. Brands set multiple products together and take the shot in a single frame.
This type of photo is used to showcase different variations or sets of the product. Generally, this shot is captured from a front angle, a higher angle, or an overhead view. You can arrange the products according to their color, use, design, or other factors. This image category is mostly used for advertising and marketing purposes.
Packshot Product Photography
Packshot or packaging photography is ideal for advertising. This category of product images emphasizes branding and packaging details. Brands make a lot of effort to make their product packaging lucrative. A greater percentage of sales depends on the packaging as well. That’s why packshots are captured to influence the purchasing decisions of potential customers.
You can take this shot using either one or multiple products in the frame. You also have the freedom to experiment with angles and perspectives. You just need to make sure the product appears to be of high quality and that important details such as the brand name, logo, weight, tagline, and other relevant information are clearly visible in the shot.
Lifestyle Product Photography
Lifestyle product photography is also known as ‘action shots’, ‘in-context’, and ‘products in action’ photography. This type of product image is shot in nature, using models, or in a setting that helps the viewers relate the products to the real-life context. Almost every company, be it fashion brands, beverage companies, or the beauty industry, uses this category of photographs to make customers visualize how the product fits into their lives.
These product photographs are ideal for delivering the brand’s unique messages in the most creative ways. You can capture customer’s attention faster and improve viewer engagement. Moreover, customers can get an idea of the actual look, size, texture, and other features of the product. It forms trust among the clients as well as decreases the return rate.
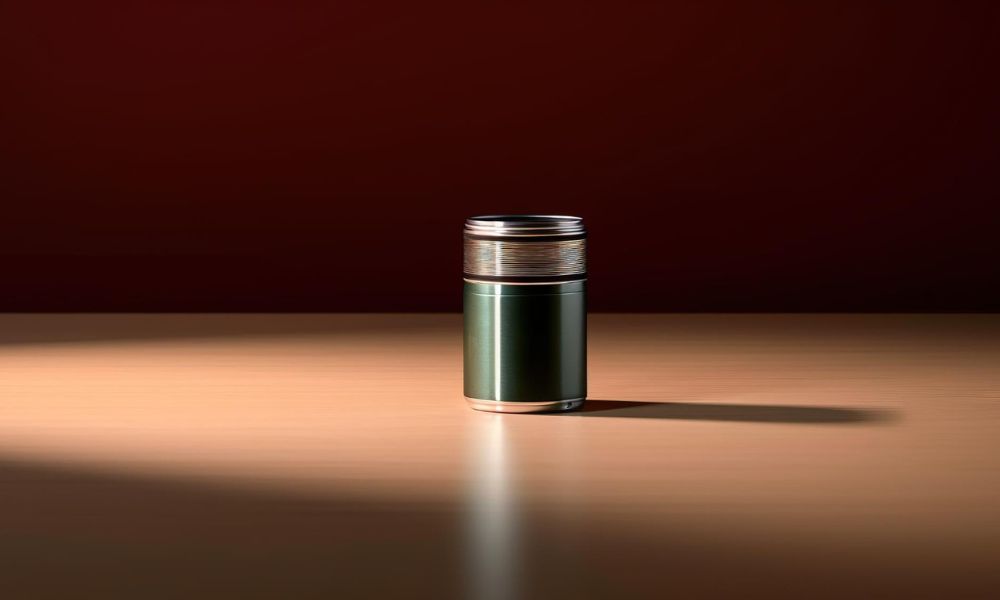
White Background Product Photography
White background product photography is a simple yet powerful photography technique. This professional product photography is captured by placing the product against a white background. A white background is considered the standard form of product image on eCommerce sites such as Amazon, eBay, Etsy, and others. This clean and distraction-free composition naturally draws customers’ attention to the products.
This image category makes the product look high-quality and the details look prominent. You don’t need to use a professional studio setup for these images. You can simply use a white wall, canvas, or paper roll. Don’t you have any of these? No worries. You can take the shot in any background and then replace it with a white background using the clipping path photo editing technique.
Flat-Lay Product Photography
Flat lay, bird’s eye view, or top-down product photography is a trendy product photo category on social media. This type of image is captured directly from above. You have to set the camera above and parallel to the product. Moreover, the shot must be taken while maintaining a 90-degree angle.
Although you can take the shot without a tripod, it’s best to use it to ensure your image is clear and sharp. This image category makes the products look flattering and eye-catching. It is mostly used in the fashion industry to showcase clothing items, shoes, or accessories. It is also a popular technique for food product photography.
Mannequin Product Photography
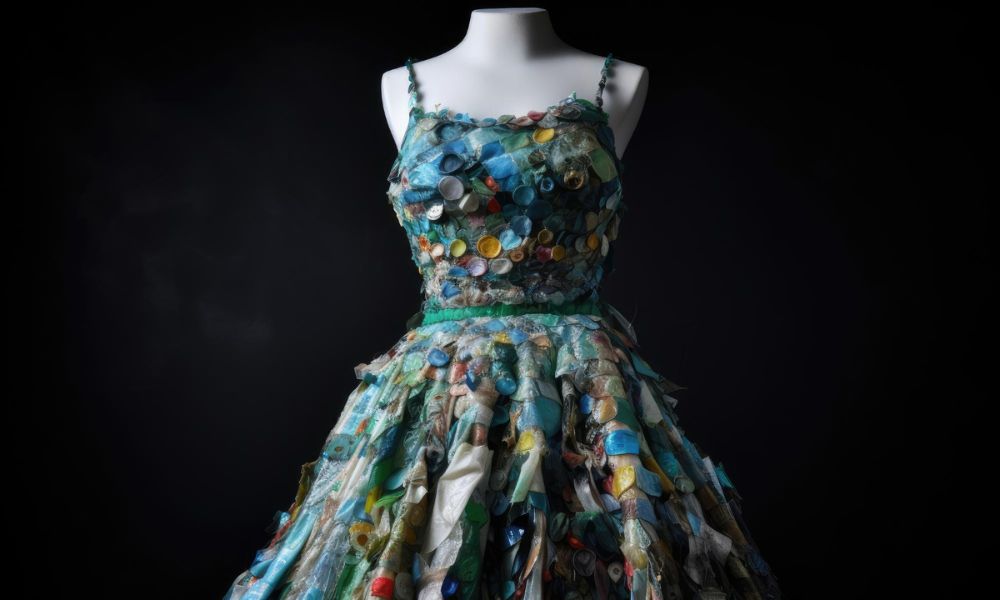
Mannequin product photography is a popular form of product image used for showcasing apparel and jewelry items. This category image is used to demonstrate the fits and drapes of clothing or accessory items without using models. This eCommerce product photography is a budget-friendly technique, as you won’t have to hire models for the photoshoot.
This type of photography is represented in two ways. The first one is straight mannequin photography. In this approach, fashion items like clothes or ornaments are photographed on the mannequin, with the mannequin remaining visible in the frame. It provides a clear and straightforward representation of how the product looks when used on the human body.
The other method is somewhat similar. The only difference is that the mannequins are removed from the frame, giving the vibe of a ghost wearing the products. This illusion of floating gives the clothing items a professional appearance. Also, it looks clean and distraction-free. The best part of this image is that customers can understand the fit of the products and have realistic expectations.
Hanging Product Photography

Hanging product photography is a unique and creative category of product image. This allows a realistic representation of products, be they clothing, shoes, bags, or jewelry items. This three-dimensional view can give customers an idea of the natural fall and form of items. However, it does not show fittings like you can see in mannequin photos.
You can hang items on hangers, rope, or string. Some prefer to remove the hanging tools to give the images a mysterious vibe. You can take the shot from any angle and against any background. But it is ideal to shoot outdoors or against a clutter-free background to make the images professional and eye-soothing.
Close-up Product Photography
Closeup product photography is also referred to as ‘detailed shot’ and ‘macro photography’. This type of image is ideal to show the intricate details of the products. This image category can be combined with other techniques. You can take the shots against a white background, hang the product, or arrange it in a flat-lay setup.
Usually, macro lenses are used to capture this category of photographs. You can highlight the stitching and textures in clothing, fine details in jewelry, and other unique features of the product through close-up shots. This technique is popular in almost every industry, including apparel, jewelry, electronics, shoes, cosmetics, food, and many others.
360 Product Photography
360 product photography is another trending technique that has high demand on eCommerce platforms. This 3D image allows customers to see the products from every possible angle, just like they would be able to see them in physical stores. It improves customers’ online shopping experience because they will not have to scroll images or be confused about the appearance of the product from any angle.
For this type of photography, the product is placed on a turntable, and the camera is set on a tripod. Then a series of images are captured while the products continue to rotate. Later, these images are stitched together in the photo editing software and give the product a 360-degree view. Although this product photoshoot is expensive, it’s worth the investment.
Essential Tools for Product Photography
Let’s check out the equipment needed for product photography to shoot professional-quality photographs.
Shooting table
You need a shooting table to make your product photography look professional. You can use a white or translucent table with backlights. This will help you create a consistent and controlled environment for the shoot. You can use the shooting table as a white backdrop or take flat-lay photos.
Some tables include built-in stands for mounting cameras or lights, adjustable height and tilt options, and wheels for easy movement. You can shoot clothing items and other small-size products on this table without worrying about arranging backdrops.
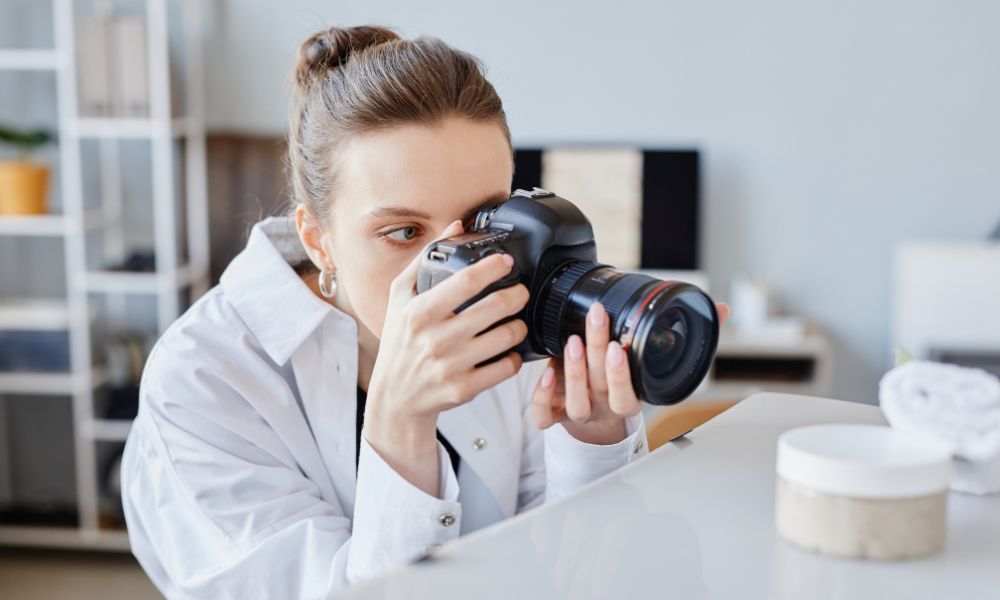
Camera
You need a high-quality camera to capture high-resolution product photos. A DSLR or mirrorless camera can be your ideal option. These cameras will give you maximum control over the settings, such as the shutter speed, focus, aperture, and other important functions. Moreover, you can use multiple lenses with these cameras as per your photography needs.
These cameras come in a variety of price ranges. You can purchase either a budget-friendly, mid-range or high-end one that fits your budget. However, you can also get great results with your high-quality smartphone camera.
Lens
You need a high-quality lens as well for your product photoshoot. Your choice of lens decides the sharpness, depth, and overall look of your product. That’s why selecting the right lens is important to ensure that your photos capture every intricate detail and appear their best.
Fixed focal-length prime lenses are ideal for capturing clear and sharp images. For close-up shots, you can try the macro lens to capture intricate details with sharpness and clarity. You can use a zoom lens if you want to shoot detailed shots as well as products in context. Make sure you use the one that is compatible with your camera.
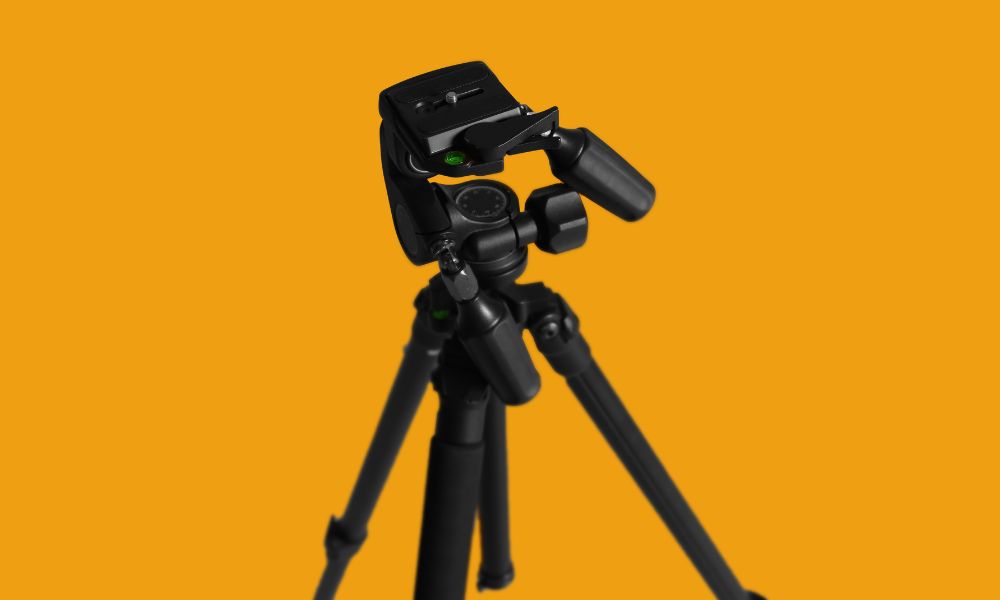
Tripod
You must use a sturdy tripod to keep your camera stable. Product photoshoots with handheld cameras can make the details blurry. So, to capture high-quality crisp images, you need a good-quality tripod. Make sure you use a tripod that can bear the weight of your camera and lens. You should also use a remote shutter to ensure your camera experiences zero shake during the shoot.
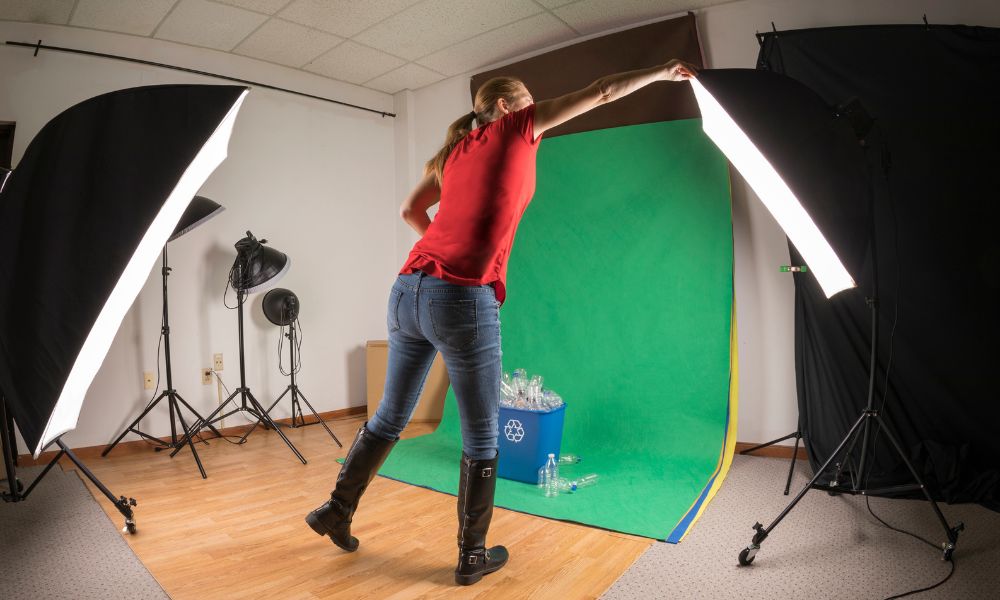
Backdrop
Your image background can make or break the overall aesthetics of your product image. A background with patterns, multiple colors, or props can make it look messy and distracting. You can use a white or solid color background to keep the spotlight on your products. You can use seamless paper, fabric, or vinyl backdrops. A C-stand can be a handy accessory to set your backdrops effortlessly.
Studio Lighting
A proper lighting setup is a must to make your products appear vibrant and appealing in photographs. Even lighting ensures that every detail is clearly visible without harsh shadows. It also helps to create depth and dimension in the photos. You can use both natural and studio lighting setups. However, using the studio light is ideal as you can control it as per your needs.
You need the following lighting accessories for your studio setup:
1. Light Source
You have to make sure that your photoshoot setup is evenly lit. You can use a strobe light or a continuous light for the shoot.
- Strobe light: This light is powerful and ideal for capturing crisp, clear images. You can synchronize it with the shutter of your camera for precise control over exposure.
- Continuous lighting: You can use a fluorescent, LED bulb, or tungsten bulb as your continuous light source. It will make it easier for you to see how light and shadows fall on your subject in real time.
2. Light Stand
Light stands are like tripods for mounting lights. These stands are sturdy enough to bear the weight of your light sources. Moreover, you can adjust their heights and angles as per your needs. These portable stands come in various sizes to accommodate different lighting equipment.
3. Reflector
You need reflectors to make your product look bright and clear from all sides. Reflectors can bounce back the lights to fill in shadows and brighten specific areas. There are several color options, including white, silver, and gold. You can use the white one to keep the tone of your light neutral. The silver one will make your light brighter, and the golden one will make your light warmer. You can also use foam boards as an affordable option.
4. Diffuser
You need diffusers to soften the lights and spread them evenly across your subject. This equipment is essential for reducing harsh shadows and producing more balanced, natural-looking lighting. You can use the following as your diffuser:
- Softbox: These enclosed boxes have a diffusing material on one side. You can attach softboxes with your strobes or continuous lights. They come in different sizes and shapes.
- Umbrellas: White umbrellas are used as diffusers in the photo studios. They are portable and easier to set up. Umbrellas can spread light over a wider area, providing a softer and more diffused effect.
- Lightbox: A light box is also known as a light tent. This box is made of translucent or white diffusing fabric on multiple sides. You can use it as a mini studio to shoot small-sized items. It often comes with adjustable backdrops and a top opening. You can use it to shoot products from both front and above perspectives.
Must Follow Tips for Product Photography
Here are 10 essential product photography tips that can help you capture eye-catching shots and level up your photography skills.
Set Up Background
There are different types of product photography backdrops available. You must choose a clean and seamless backdrop that complements your product. You can use paper, fabric, or cardboard as your background. It is best to use a white background. You can also experiment with other neutral colors. Just make sure your product stands out without distractions.
Set Up Product
After setting up your background, you need to position your products. You have to place your product strategically within the frame. While positioning the product, consider the best angle or feature you want to highlight. You can use props to convey a story or give the product context. However, make sure not to use too many props, as it may make your frame cluttered.
Adjust Lighting Setup
You need to place your light sources strategically to make your product appear evenly lit from every angle. Whether you are using strobes, LED bulbs or ring lights, follow these product photography lighting techniques to make your products the center of attention:
Your photography setup requires 3 types of lights:
- Key light: This is your main light source that falls directly on your product. You can set the key light above your product, in front, or at an angle that properly fits your composition.
- Fill light: Fill lights are supporting lights used to make darker areas bright. Usually, key lights are set in a specific direction. For this reason, areas opposite the key lights can have shadows. These low-intensity lights should be placed at a perpendicular angle. Also, make sure they are set in the opposite direction of your primary light source.
- Backlight: You need a backlight if your product is positioned at a distance from the background. You must set it behind your subject to balance the overall exposure. Moreover, this light will create a subtle highlight around the edges of your subject.
Choose the right camera
A camera is a long-term investment for your photoshoot. You need to check out different brands, different models, features, budgets, and other factors when choosing the best camera for product photography. Canon, Nikon, Sony, Fujifilm, and Panasonic are popular brands. You can get a range of cameras suitable for your budgets and requirements.
Some of the cameras are popular these days for shooting products, including Sony A6100, Canon Rebel SL3, Nikon Z5, and Fujifilm X-S10.
Choose the right camera
Your image quality depends on your choice of lens as well. You need to select the lens that is compatible with your camera. You can use a 50-100mm prime lens or zoom lens to capture medium-sized products from a close range, such as electronic gadgets, clothing, shoes, etc.
On the other hand, a 90-100mm lens is best for extreme close-up shots. You can capture the fine details of small products like jewelry, cosmetics, and other accessories. Do you want to capture large items like furniture or appliances? Then use a 70-200mm zoom lens or even wider focal lengths like 24-70mm to take the shot with some background.
Some of the best lenses for product photography trending these days include Canon EF 85mm F/1.8 USM, Nikon AF-S NIKKOR 50mm F/1.8G, or Sony FE 90mm F/2.8 Macro G OSS SEL90M28G.
Adjust Camera Setting

Digital cameras these days have advanced features that allow the camera to adjust the settings automatically. However, for professional product photoshoots, it’s best to adjust the camera settings manually for better results and less hassle in post-production.
The following are a few setting recommendations. This is a simple guideline. You can adjust the camera settings for product photography depending on your setup, lighting condition, and other factors.
- ISO: High ISO can increase noise in the photos. That’s why you should begin with ISO 100 and increase the value if necessary.
- Aperture: A small aperture will keep both your product and the background sharp and clear. You should maintain the aperture between f/8 and f/16.
- Shutter speed: The ideal shutter speed varies depending on the motion of the product. A shutter speed of 1/60 is great for capturing still products. However, you need faster speed if your product is in motion, as in a lifestyle photoshoot. You can set the shutter speed at 1/250 or above.
- White balance: A proper white balance setting can protect your photos from color cast. You can use a white card or gray card to set your white balance manually.
Always Use Tripod
You must use a tripod no matter what type of photoshoot you do for your products. A tripod keeps your camera stable and balanced. You can maintain consistent angles and heights for all your products through tripods. Moreover, your images will not have the chance of becoming blurry because of camera shake.
Experiment with camera viewpoints & angles
The aesthetics of your product’s appearance vary depending on your angles and perspectives. You can make your product look more engaging by highlighting its unique features. You can take a high shot, low shot, or eye-level shot to experiment with the viewpoints. You can also use various angles, such as front, back, profile, 90 degrees, 45 degrees, or 30 degrees, to showcase your product in different lights.
Macro Shots
Customers prefer to see the product details before making a purchase decision. Close-up images give customers a better idea of the product’s quality, design, texture, and other unique details. That’s why you should take macro shots to help the customers set realistic expectations and make informed shopping decisions.
Post Production & Image Optimization
Your images will have issues with color, contrast, sharpness, or other elements. You may also need to crop or resize images for specific online platforms or print media. You need to optimize the appearance of your product images through post-production. For professional quality photo optimization, brands usually prefer outsourcing post-production services.
Companies offering product photo retouching services have professional photo editors proficient in premium photo editing software like Photoshop. They can give you high-quality images, highlighting the intricate details and maintaining color accuracy. Moreover, you can use the editing services to remove or replace the background, create ghost mannequin effect, and other image-enhancing techniques.
When to Hire a Professional Photographer?
The following are some key scenarios when you should consider a professional photographer for your products:
High Volume Shoots
If you have a large number of products to photograph, you can consider hiring a professional photographer. Their expertise, high-quality equipment, and photo editing skills ensure that each product’s fine details are captured precisely. This consistent and uniform editing enhances the overall look, making your products appear professional and your brand high-end.
Unique Products
The experience of working with various brands makes professional photographers experts at capturing challenging and unique products. Whether your product is reflective, transparent, extremely small, or large, they understand how to photograph it to highlight its best features. These flawless images can help you captivate customers’ attention and drive their interest in your products.
Advertising Campaigns
You need professional-quality photographs of your products for both online and printed marketing materials. Professional photographers are experienced in shooting photos for websites, advertisements, catalogs, flyers, brochures, or magazines. They can make your products look their best, ensuring a sense of professionalism.
Convert Leads Into Sales
High-quality product images are essential for keeping your online stores ahead of the competition. Professional photographers can capture clear and attractive photos that highlight the key features and benefits of your products. These photographs create trust within the customer and boost your sales.
Brand Consistency
You need a uniform visual style across all your product images to build a professional brand identity. A professional photographer can shoot all your products while maintaining a consistent composition style, lighting, or background. This uniformity will make your brand easily recognizable and trustworthy to customers.
Frequently Asked Questions(FAQ)
How much does product photography cost?
The cost of product photography depends on several factors, such as the experience of the photographer, the complexity of your project, and many more. Photographers may charge you based on your project, per image, or photoshoot duration. A professional product photographer may charge you $500 or more for a half-day photography session.
How can I shoot product photography at home?
You can do product photoshoots at home with some of the basic equipment. You can use your smartphone if you don’t have a high-end camera or lens. You can use a lamp as your light source and white fabric or a wall as your background. A white sheer fabric can be used as a diffuser, and white paper or foam board can be used as a reflector.
This DIY approach can help you achieve high-quality, visually appealing images that showcase your products effectively, even without expensive equipment.
Conclusion
We have reached the end of our discussion. So far, we’ve discussed the type of product photography, essential tools, and some of the key tips to help guide you through product photography techniques. Hopefully, you’ve received valuable insights that will help you improve your photography skills. Try to implement these guidelines for your upcoming photoshoot.