27 May Clothing Photography for Your Next Photoshoot: A Complete Guide
The clothing industry has always been on the rise and is growing even faster. Fashion trends associated with clothing keep on changing every season. People no longer buy clothes just out of need; it’s more about personal preference and style.
Despite feeling the garments in person or trying them on, customers are confidently purchasing the clothing items online. So, what gives the customer such confidence?
Obviously, visually striking clothing photographs!
In this comprehensive guide, we’ll help you learn the different techniques for capturing unique apparel photographs. We will also walk you through step-by-step guidelines to ensure a successful photoshoot.
Let’s upgrade your clothing photography skills!
Why Should You Care About Clothing Photography Ideas?
Your target customers recognize your brand through the clothing images you use on the eCommerce stores and branding on different marketing channels. These photographs have the power to either make or break your business.
Every clothing brand, be it small or big, uses visually attractive photographs that are hard to resist checking out. Some brands use bright colors, while others use a minimalist or elegant style. So, why do brands use different clothing photography ideas?
There are several reasons, including:
- Eye-catching photographs stop customers from scrolling and checking out the items.
- You can use creative photography ideas to highlight the distinct features of your clothing items.
- Unique photography ideas can make your clothing brand noticeable to the customers and stand out from the competition.
- Your clothing images can influence the purchasing decisions of the customers. The chances of sales increase with the formation of the emotional connection between the outfits and customers.
- Social media platforms thrive on visually driven content. Customers tend to likes, comment and share content that is irresistible and visually striking. Your clothing images will receive more engagement on social media if they can capture attention quickly and leave a lasting impression.
Types of Clothing Photography Styles
You can try out the following photography styles to promote your clothing items in both eCommerce stores and social media platforms.
Flat Lay Clothing Photography
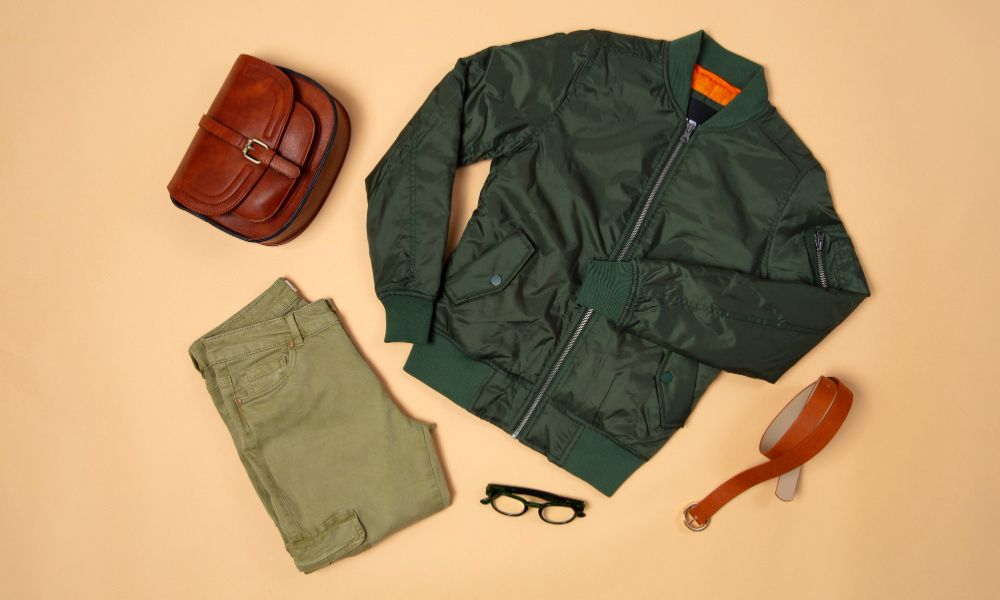
The most popular clothing photography technique brands use for marketing their outfits is flat-lay photography. This photography style is ideal for showcasing any type of garment, such as t-shirts, dresses, pants and jackets. The best part of this image style is its neat and clean presentation on a flat surface. You don’t need any dramatic background or complex preparation for capturing this type of shot.
A white background is usually considered the ideal background for flat lay photography. The plain white backdrop makes the outfit pop up in the frame and prevents distraction. You can use this technique to capture both individual shots and group shots to showcase the unique offerings of your brand. However, you should keep in mind that not every type of clothing is suitable for flat lay photography. For example, structured garments like suits or jackets won’t look flattering when laid flat.
The simple and minimal preparation required for this photography style makes it cost-effective too. All you need is to arrange your clothing items on a flat surface and mount the camera on a tripod at 90 degrees parallel to the outfit. Think of a specific color palette or theme to make your flatlays steal the spotlight. You can also add props and accessories to enhance the visual aesthetics of the photographs.
On Models
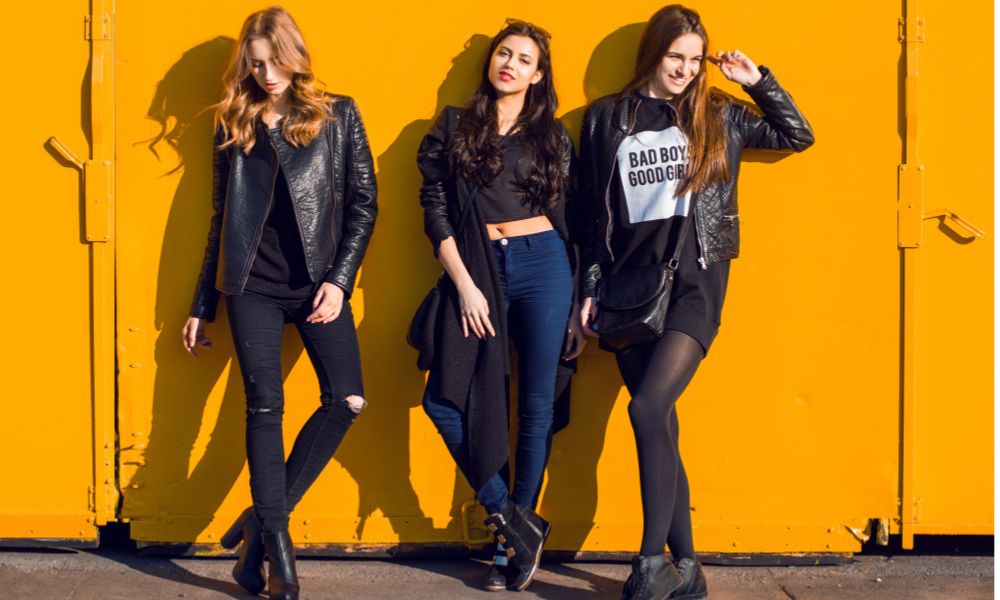
Customers these days prefer to checkout the fit of the clothes before purchasing them online. The main reason behind this is that when they see the clothes on a real person, they can visualize whether that outfit will look good on them or not.
Although clothing photography on models is quite expensive, you can go for it if it fits on your budget. The major benefit you will get from this photography is a reduction in the return rates. This happens because of the realistic expectations customers have when ordering the items.
You can hire professional models in case your budget is high. Also, you can ask your friends or family to model for your garments. This will save you a lot of money. If possible, try to shoot the outfits on different body types. This way, a wide range of your target audiences will feel connected to your brand and engage with your products
Mannequin Clothing Photography
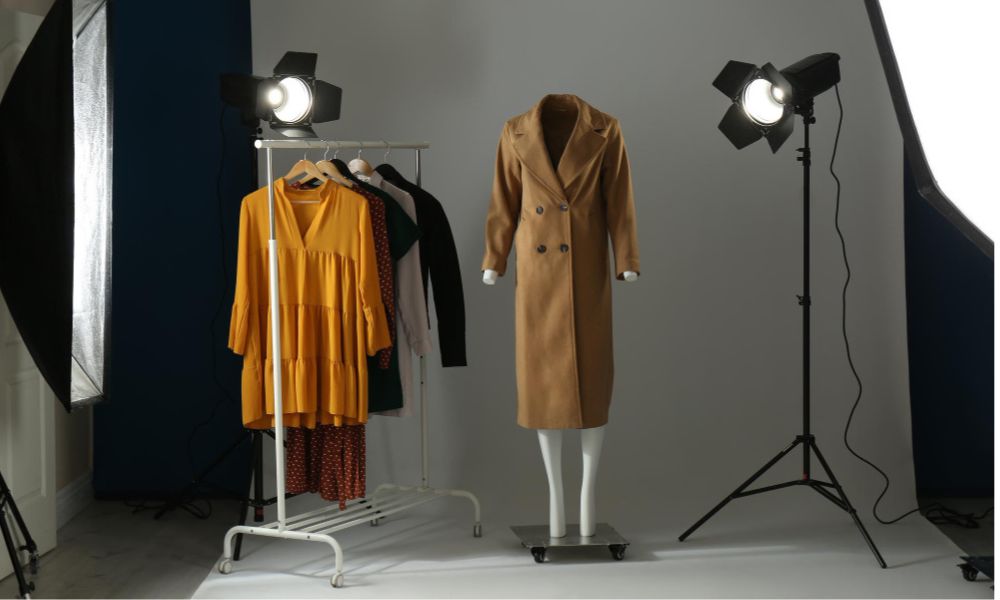
Mannequin photography is a great alternative to model clothing photography for eCommerce. You can go for this photography style if you don’t have the budget for model photography. You can showcase the drape and fit of the outfit similar to how it would look on a model.
However, mannequin photographs are less engaging and visually appealing compared to images that have models. You can make the mannequin images more interesting and engaging through the ghost mannequin effect. In this type of image, the mannequin parts are removed using the image editing techniques. This illusion of clothing items floating in air or on the body of an invisible figure sparks curiosity in customers and enhances engagement.
Hanger Clothing Photography
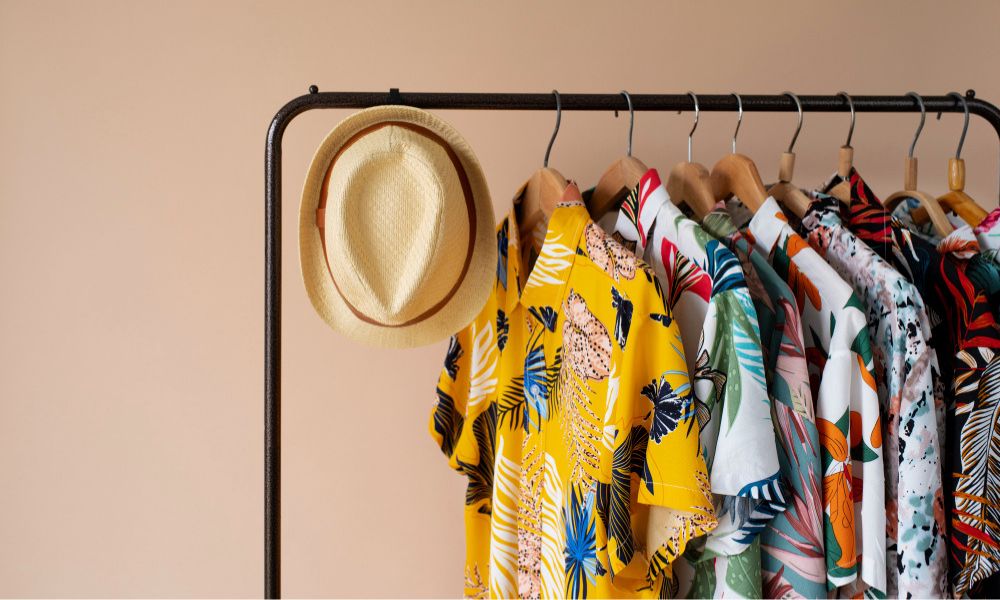
Are you looking for creative clothing photography ideas? Garments on hangers are trending recently on social media platforms such as Instagram, Pinterest and so on. This style looks best on t-shirts, jackets and short dresses that are less flowy. Customers can get an idea of the texture and stiffness of the clothing by seeing the drapes and flow.
Hanger photography is the most cost-effective clothing photography you can try without having a studio setup. You can hang the garments on a wall or rack. Don’t you have a good looking wall? That’s not a problem. You can replace the background during post-production. But make sure you use hangers made of wood, velvet or other materials that make the garments look high-quality.
Lifestyle Clothing Photography
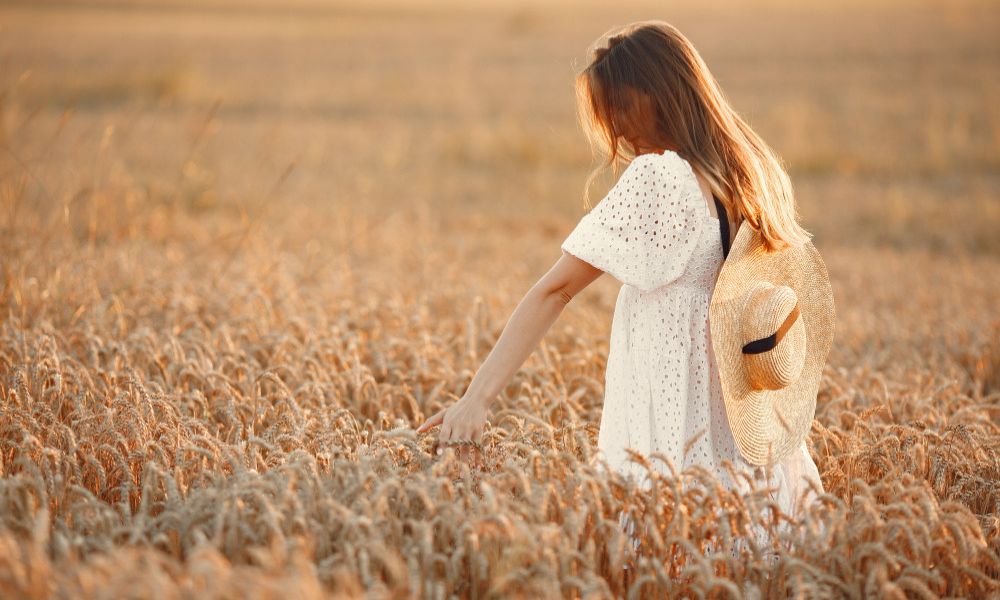
Lifestyle photography is an excellent way to make the target audience relate to your garments. You can showcase the use of your apparel using real life scenes through lifestyle shots. Moreover, customers love to explore styling ideas. You can provide styling guides to make the target audience engage with your items.
Let’s say your clothing item is a white top. You can take lifestyle shots by pairing the top with pants, skirts, sleeveless dresses or jackets. Also, the images should be captured in locations that complement the color and style of the dress. You can use these images for social media marketing and make the customers interested in your garment. The versatility of the outfit will spark interest in them, eventually leading to an increase in sales.
Must Have Equipment for Clothing Photography
How well your clothing images will be captured depends on the equipment you use for the shoot. Although your tools will vary based on specific photography styles, there are some basic tools that are common for all types of photography.
Here is a list of must-have equipment you need to create a professional clothing photography setup.
Camera
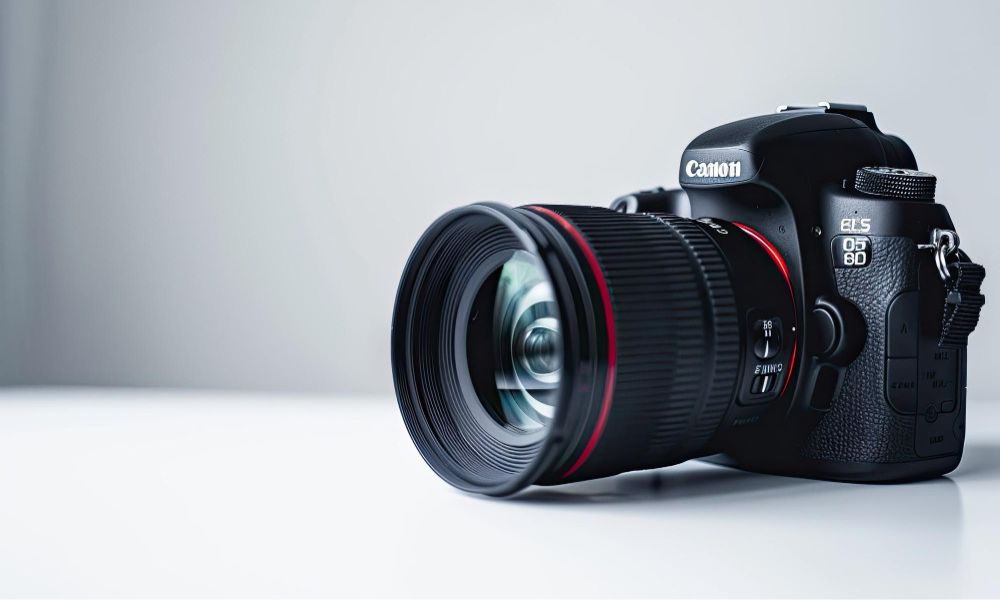
The quality of your photographs depends on the camera you use to capture the images. High-quality images require a high-resolution camera. You can use either a DSLR or mirrorless camera for the shoot. These cameras have amazing features that will help to capture the fine details and colors accurately. A mirrorless camera is a bit expensive compared to a DSLR camera. Hence, choose a camera that fits within your budget.
You can also use your smartphone as a budget-friendly option. However, the resolution of the smartphone cameras should be high enough to capture good-quality photographs. Recently launched smartphones, such as the iPhone Pro versions, Samsung S series, or Google Pixel have advanced camera technology and image processing features. When comparing these smartphones to professional cameras, the quality of the images you get will be fairly comparable.
Lens
You need a high-quality lens to complement the image quality of your cameras. There are different types of lenses available on the market. But you have to choose the right one considering your photography style and needs.
Let’s say you prefer capturing sharp images from a short distance. A prime lens would be the best fit for this purpose. The fixed focal length of a prime lens is considered the ideal one to capture sharp images while maintaining the fine details.
On the other hand, you can choose a wide angle lens for outdoor lifestyle clothing photography. The wide field of view of this lens will allow you to capture the surrounding environment and provide context to your images. However, this lens is not the perfect one for close up shots. You will need a macro lens to capture the texture and fine details of the clothing items.
It’s better to carry multiple lenses to make their best use for different types of photography. But what if you have the budget of using only one lens? You can go for a zoom lens in this case. The adjustable focal length of a zoom lens allows you to capture both wide-angle and close-up shots of the outfits.
Tripod
Many of you may think of a tripod as an unnecessary tool. But you actually need this equipment to capture sharp and clear images. Your hands may shake or you may breathe when pressing the shutter button of your camera. These subtle movements can make your hand-operated camera experience motion and make the photographs blurry.
A sturdy tripod is the perfect solution to this problem. It can maintain the stability of your camera and make sure your images don’t become blurry. Although modern cameras and lenses have the image stabilization features, they do not provide the same level of stability as a tripod.
It’s recommended to use a remote shutter release when you mount your camera on a tripod. This will prevent the possibility of creating vibration when you press the shutter button.
Lighting
You don’t have control over choosing lighting sources if you shoot outdoors, as your main light source will be natural sunlight. While you can get beautiful soft lighting during the golden hour and early morning, there are possibilities of experiencing a lot of challenges as well. Factors such as the time of day, weather and shadows can influence the intensity and direction of the light.
However, for an indoor shoot, you have the flexibility to arrange and control your own light sources. Professional photographers use strobes as their light source for their high intensity light. You can also use it in case you want to create a studio-quality lighting setup.
Continuous lighting sources such as bulbs, lamps or LED panels are also great alternative options. Remember, the intensity of these light sources is less compared to a strobe. For this reason, you have to use two to three lights to make the setup well-lit.
Along with the lighting source, you need some additional accessories, including diffusers and reflectors. These tools are necessary to evenly distribute the light all over your setup. A diffuser helps to make light soft and diffused. When this diffused light falls on your clothes, it will not cast harsh shadows. Meanwhile, reflectors bounce back light and help to spread them in all directions. You can use it to brighten specific areas of the clothing that need more light.
How To Photograph Clothing For Your Ecommerce Store?
The following is a step-by-step guideline on how you can achieve professional-quality clothing photographs for your eCommerce store.
Plan Your Shoot
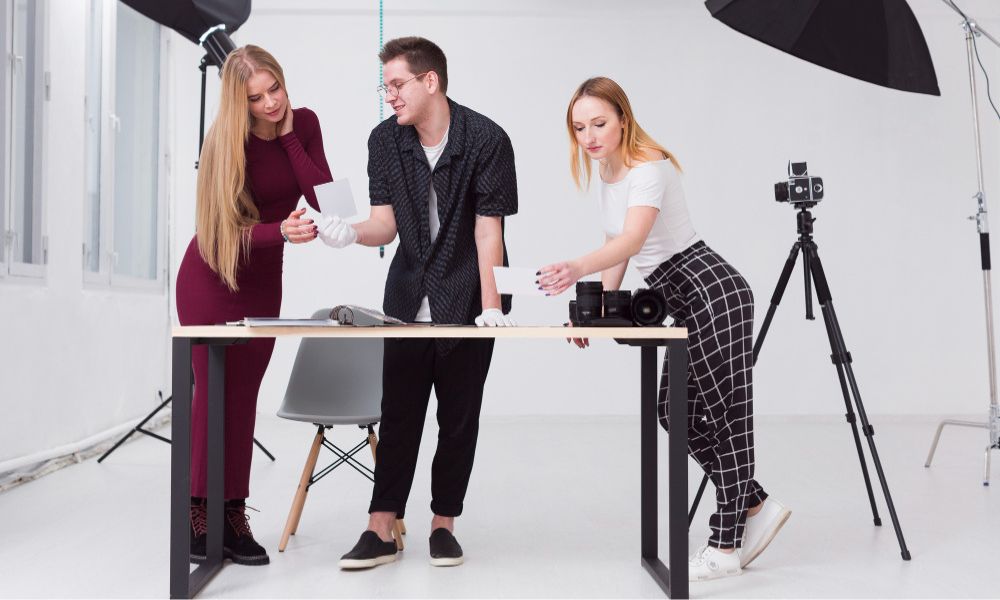
Professional-quality apparel photographs are a result of perfect planning before the beginning of the shoot. You may waste your valuable time and effort if you move forward without any plan. Last-minute decisions can make you forget to use essential accessories. You may also need to experiment with lighting and angles to get the shots. All these will delay the process as well as require a reshoot.
For this reason, you need to first create a plan as a roadmap to help you keep on track and make the process smooth. So, what are the things you should consider when planning an apparel photoshoot?
- Your planning must start with identifying the purpose of the shoot. Your framing, style and type of shots will vary depending on whether your images will be used in social media, eCommerce website or any print media.
- After deciding the goals, you need to select your theme. Your theme will set the tone and visual style of the entire shoot. You can try minimalist, vintage or street-style as your theme. Make sure to use themes that reflect your brand’s personality.
- Next, you need to visualize the photographs before you even pick up the camera to take the shots. You can do the sketch on your mind or use a moodboard. This visualization process will help you to arrange the equipment and decide on the camera angles. As a result, you will not have to experience unnecessary struggle between your shots.
Prepare Your Clothing
Clothing items are the main attraction of apparel photography. You must ensure that whatever you are photographing, whether a t-shirt, dress, or jacket, looks perfect. The camera will capture exactly how your product will appear. Hence, you need to give attention to details so that even minor imperfections don’t break your images.
Here are the things you should do to make your clothing preparation perfect.
- Wrinkles and creases make the clothes appear unprofessional and of low quality. You can use an iron or a steamer to make the wrinkles smooth. Make sure you do it right before the shoot, or it may get creased again. You can also hang them to prevent forming new wrinkles.
- Sometimes you may notice stains on the clothes. You can wash those spots with detergent to remove the spots.
- You should keep a lint roller with you for the shoot to clean lint, hair or fur from the clothing. You may not notice these small particles, but they will be visible in high-quality images.
- Tags or labels can create distractions in the images. So you must remove them to make the items look clean and distraction-free.
- You must polish shoes and jewelry if you use them as props. Make sure to make them shine so that they increase the visual appeal of your garments.
Choose Your Location
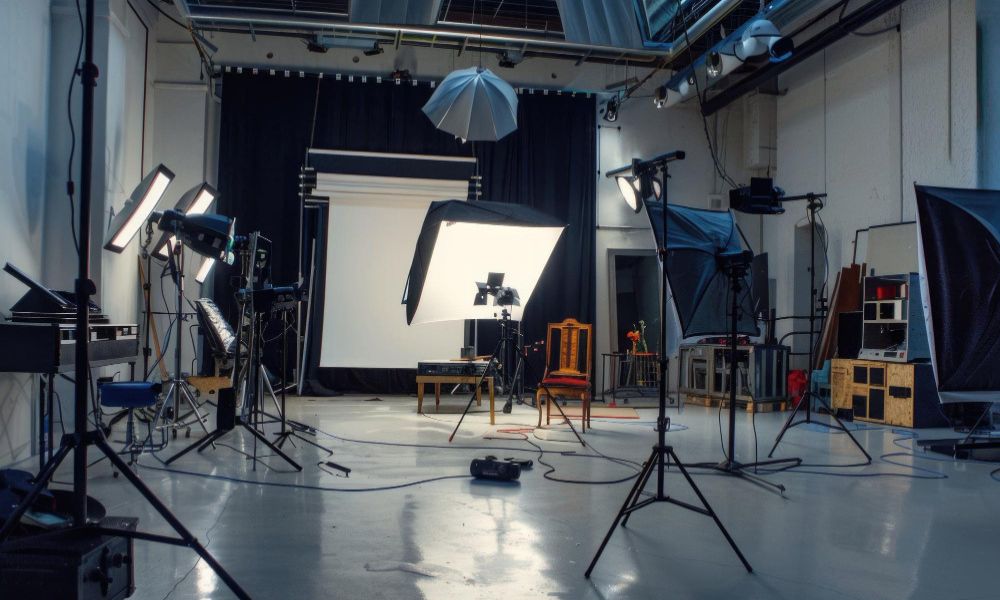
The location of your shoot depends on your clothing type, photography technique and theme. You can do flat-lay or mannequin photography at home or in the office. However, for lifestyle shots, you have to choose an outdoor location. You can choose running tracks, gyms or parks for athletic clothing. Beaches, gardens or open fields with plenty of natural light will highlight the light and airy feel of the summer dresses.
When selecting an outdoor location, you must consider the time of the day and weather. The best time to shoot in natural light is during the golden hour of a bright sunny day. This is the short time before sunset and after sunrise. During these times, the sun rays remain soft and diffused. This warm light doesn’t create harsh shadows like midday sun. Also, you will not face problems such as overexposure.
Select Your Background
Background is one of the most important elements that can either make or break the overall aesthetics of your photographs. For this reason, you must choose the background carefully. Your goal is to highlight the garments in the photos. Hence, your background must be something that complements the clothing rather than create distraction.
A white background is considered the ideal one for flat-lay photography as well as photos used on eCommerce stores. But for social media or marketing purposes, your background must be more engaging and visually appealing.
For example, the active users of platforms such as Instagram and Pinterest are the young generation. They are usually attracted to vibrant and visually stimulating content. You can use contrasting colors or pastel shaded backdrops to make your images engaging.
You must also consider your theme when choosing the background. Let’s say your theme is vintage. You can use a wooden table or old brick walls to give a timeless feel to your photos. Also, make sure you don’t choose a busy background for the lifestyle shots. In a street style theme, people may photobomb your shots. To avoid this situation, you can take the photos when the street is less busy.
Take your shots
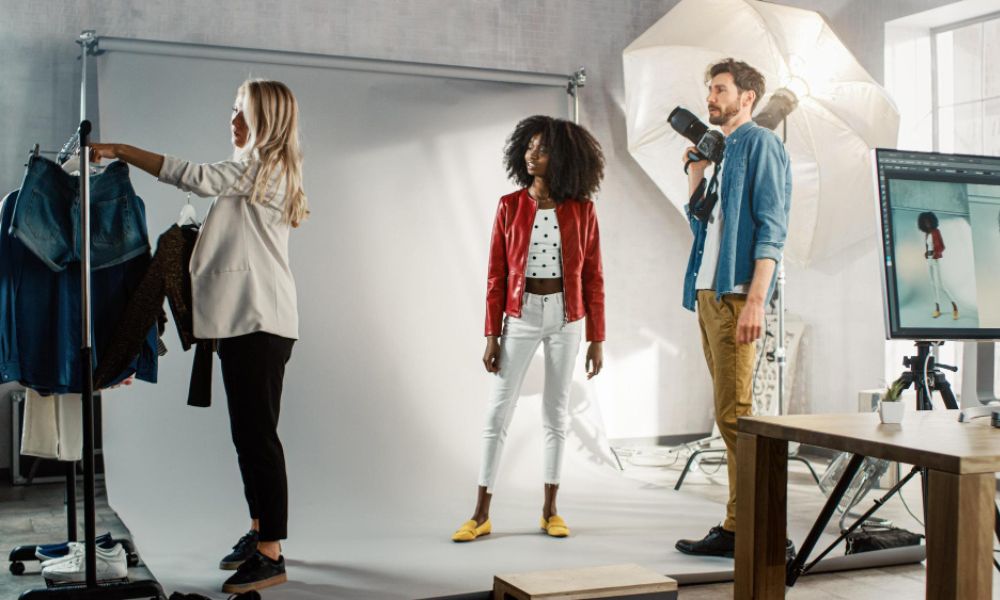
Now that you are done with all the preparations, it’s time to get started with the photoshoot. Your photo session should start with setting the position of your light source, backdrop, camera and lens.
Make sure your camera settings are all okay. It is best to take a few test shots before starting to take the real ones. This will help you to see how exactly your visualization is coming to life. You can also experiment with the position of the props, clothing items as well as the camera angles to explore your creativity.
Remember to check out the images on a laptop or tablet during the shoot. A large screen will help you to identify the details that you need to fix to make your shots perfect.
Post-Production after Clothing Photography
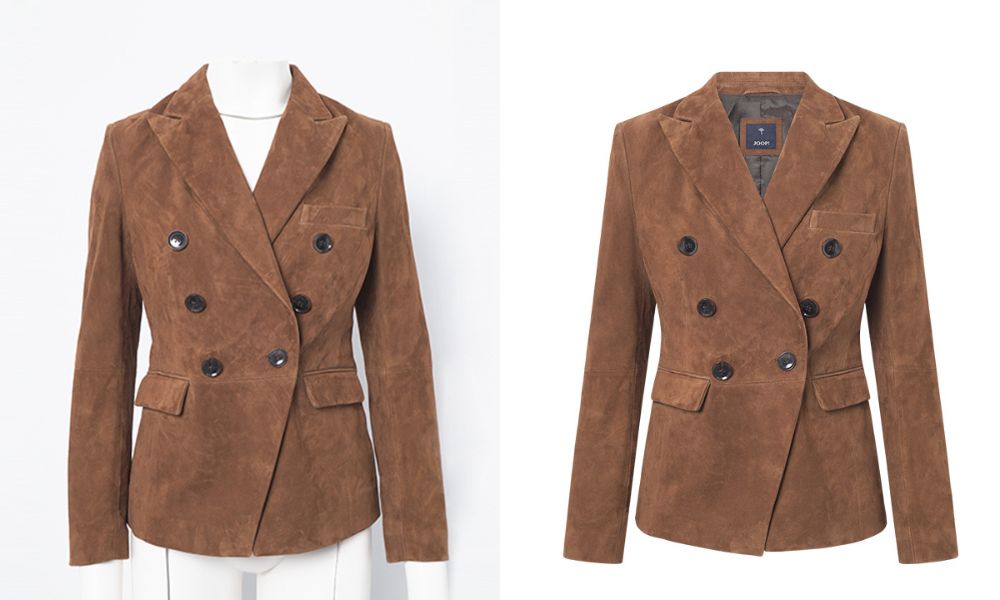
Post-production is an essential part of commercial clothing photography. The high-quality images you see while browsing eCommerce stores and their social media accounts are all retouched to ensure that the clothing looks its best. No matter how perfectly you take the shots, your images will have certain issues that need to be fixed through editing.
The basic editing’s required for clothing photography are clipping path, background removal, color correction, image masking, ghost mannequin and photo retouching. You can create a cutout of your clothing item through the clipping path technique and use it for multiple purposes. For example, you can use them to create banners, flyers, brochures and other marketing materials.
The color of your garments in the photographs may not perfectly match how they appear in real life. This can happen because of lighting and the limitations of the camera. You need color correction service to fix the color related issues.
If you use models for your clothing photography, then you may need the image masking and photo retouching service. This editing technique can separate fine details, such as hair or fur from the background. Besides, makeup, wrinkles, fine lines and blemishes on your model’s skin can be fixed through photo retouching. This method is also useful to fix the flaws in clothing.
You may also need to crop or resize the images to meet the requirements of different platforms. Although you can do these editing’s on your own if you have expertise in photo editing, it’s best to hire a professional photo editing service provider. This will save you a lot of valuable time while ensuring you get professional-quality photographs.
Frequently Asked Questions About Clothing Photography
How Much Does Clothing Photography Cost?
The cost of clothing photography depends on several factors. You may need around $5000 to purchase the equipment, such as a high-quality camera, lens and lighting accessories. A professional photographer may charge around $500 per hour. Moreover, your cost will increase around $250 per hour in case you hire professional models. Lastly, you have to consider the cost of photo editing too.
Conclusion
So far we’ve discussed the basic knowledge you need to kickstart your start clothing photography journey. Mastering clothing photography requires attention to detail, creativity, the right tools and most importantly the passion to never give up.
You can make your clothing products appear more appealing and attractive by properly implementing the unique clothing photography ideas we have discussed in this article. However, don’t start experimenting with all the techniques at once. You should start with one technique and try to have a good grasp on it to move forward to mastering the next one.
If you’re looking to offer product personalization, a platform like Products Designer makes it easy for your customers to customize clothing directly on your eCommerce store helping boost engagement, improve customer satisfaction, and increase sales.
