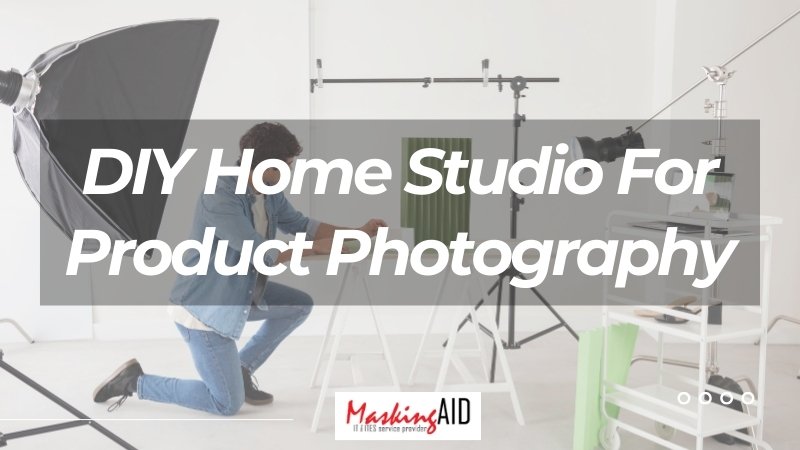
19 May Creating a DIY Home Studio for Product Photography Success
DIY Home Studio is important for creating high-quality product photography at home. Since, they are influencing both sales and customer satisfaction. But having a professional product photography is tough and costly in most of the cases yet it plays a very rising role in the whole business. Firstly, it shapes initial impressions, capturing customers and pursuing them to take a deeper look into your product, and ultimately make a purchase. To achieve this goal at home studio for product photography, clear and detailed images are a must, right?
It also contributes to customer satisfaction by providing a clear understanding of the product’s color, size, and texture, reducing the likelihood of returns and enhancing overall customer experience. The question is, can you do the same without any professional help at home? Well, certainly you can but there’s a bunch of considerations to follow. So, let’s make a DIY home studio from the scratch and bring out some great results for your product photography.
Is it really possible to do product photography at Home?
Yes, you can do product photography from home. It is simple and easy to do with the proper guidelines. You can set up a simple product photography studio at home using a few essential tools and techniques. Some of the key requirements for product photography at home include a camera, tripod, white background, good lighting, and photo editing. To make a great exception you can even use a smartphone with a good camera to take high-quality product photos. Just make sure you follow the default tips we mentioned. They will ensure the initial stability of your product photography.
DIY Home Studio: Equipments For Product Photography

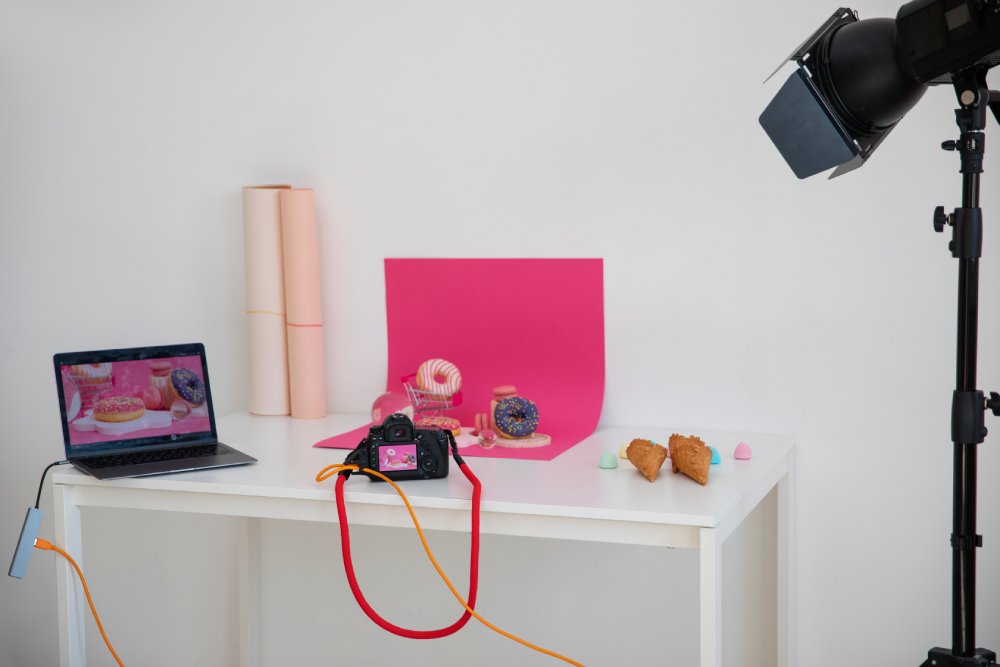
To set up a photo studio at home diy, for product photography, you will need to consider the type of products you will be photographing and the equipment required. Mostly, the popular e-commerce products are electronics, food, and jewelry. Here are some suggestions for equipment and setup:
- Camera: Choose a suitable camera that can capture high-quality images. If you don’t have a DSLR or mirrorless camera, you can use a smartphone or a compact camera.
- Lenses: Select lenses that can capture a variety of angles and distances. A versatile lens with a range of focal lengths (e.g., 18-55mm) will be helpful for capturing different types of products.
- Lighting: Natural light is often the best option for product photography. Make sure to take advantage of it by setting up your studio near a window with indirect sunlight or using a thin white sheet over the window to diffuse the light. You can also use artificial lighting, such as a single continuous softbox light and a reflector, to achieve better control over the lighting.
- Backgrounds: Choose appropriate backgrounds that complement your products. Try to maintain it since they create consistency and brand authority across the line. Some options include seamless paper, foam board, vinyl, white reflector, V-flat, plain white canvas, and photography lightbox. You can also use household materials, such as fabric, paper, or wood, to create custom backgrounds.
Advance Equipments:
- Tripod: A tripod will help stabilize your camera and ensure steady shots by reducing the shaking rate of your camera vision on your photography shooting table.
- Smartphone mount: If you plan to use your smartphone for photography, consider purchasing a mount or tripod adapter to stabilize it.
- Editing software: Use photo editing software to enhance the images and apply any necessary adjustments. Like: photo retouching, converting into different formats, giving more effects for a realistic touch, etc. You can use Adobe Photoshop since it is the most popular DAW for photo editing. On a special note, remember that RAW format is always better for the highest quality and flexibility in post-processing.
Benefits of DIY Home Studio Product Photography
Product photography at home offers several benefits for individual photographers. It is a great option for startups and growing stores online for small business owners. There’s little hassle to take and much more to get out of it. All it takes is to start off and get the best out of this venture. Here’s a glimpse of them:
Budget-Friendly
Doing product photography at home can be cost-effective as it eliminates the need to hire a professional photographer, rent a studio, or transport products to an external location. There’s no high end gear requirements and gadgets for strong builds at the starting phase. So, it all comes easy and budget-friendly.
Convenience
With a few basic equipment such as a camera, lighting, and a tripod, one can create professional-looking product images. Well, it can be used for e-commerce, social media, and other marketing purposes. A home studio also allows for greater flexibility in scheduling and customization, as well as the ability to experiment with different compositions, and lighting setups to achieve the desired effect.
Free to Take Actions
Having creative control for product photography comes with the ability to showcase the product from all angles. It helps to aim for the creation of professional and innovative images that convey a sense of professionalism, value, and creativity, ultimately building trust with customers. Creative product photography can also be used to tell a brand story and impress viewers visually, making it a valuable tool for digital and print advertising, branding, and e-commerce websites. You can have the full charge of post-processing by doing photo retouch, background removal, and much more.
DIY Home Studio Helps to Focus Better for Photographers
Photographers should use a home studio for product photography because it allows them to control the lighting and environment. By ensuring that their products are photographed in the best possible light. A home studio also offers total creative control, allowing photographers to decide how intense the light should be and how the photos should look.
Also a home studio eliminates the requirement of good weather, which is critical if you live in an area where the weather is unpredictable. Photographers can photograph any time of day with studio lighting, which is fixed and reliable.
It can be set up with some basic equipment, such as a camera, tripod, white background, and lighting source. Even though you might notice that there are some disadvantages to doing product photography at home.
Such as limited space, storage constraints, and distractions. But still a home studio can be a great place to shoot product photos, especially for those who are just starting out or have a limited budget.
6 Tips for Better DIY Home Studio Photography Result
Check the marks and consider the following tips through the whole journey of your DIY photo studio at home for product photography:
- Background: Use a white or light backdrop to keep the focus on the product and simplify the editing process.
- Equipment: Essential equipment includes a DSLR or mirrorless camera, lenses, tripod, light stands etc.
- Lighting: Utilize diy home studio lighting from windows and consider investing in adjustable lighting kits for a professional setup.
- Reflectors: Create reflectors for fill lighting to improve the quality of your photos.
- Editing Software: Use editing software to enhance your images. There are affordable options available for improving ecommerce photography.
- DIY Hacks: Explore DIY lighting setups using lamps, homemade diffusers, and smartphone photography apps for a cost-effective approach.
Frequently Asked Questions(FAQ)
Is a phone camera good enough for product photography?
Yes, a smartphone camera with 12 megapixels or more can be used for product photography.
How can I create a consistent and cohesive look across all my product photos in a DIY setup?
To create a consistent and cohesive look across all product photos in a diy home photography studio, use a consistent backdrop, framing, and lighting.
How can I effectively use natural elements, such as plants or flowers, in my product photos?
To effectively use natural elements such as plants or flowers in product photos, use them sparingly and make sure they complement the product for your diy home photo studio setup.
Are there any specific camera settings I should use for product photography in a home studio?
There are no definitive settings for product photography that are determined for better results. You can always try out the different settings according to the atmosphere of your studio to see what works best for your photography purpose.
Final Thought
Not only product images enhance the sales. But they are also increasing online visibility and search engine optimization (SEO) as a result, it gets easier to discover your products by potential customers. The differentiation of products is another significant aspect. The high-quality photography sets your products apart from the competition and makes them appear more attractive and desirable. And when you are doing this at home you must follow the specific drafts that are outlined throughout this article. They will assist you to make a complete setup and bring amazing results for your next product photography at your own DIY home photo studio.
