28 May Best Clothing Photography Ideas and Tricks For Your Online Store
When it comes to selling online, the quality of images plays a vital role in breaking or ensuring the success of your business. As customers can’t try or touch products like physical ones, your photos are the only way to showcase apparel details and encourage them to make a purchase.
It’s all about portraying a story around your product more than just capturing them. In 2023 a survey highlights, more than half of shoppers consider brand or retailer provided visuals for confirming a purchase decision. So, how do you nail it?
The answer is quite easy – the best clothing photography ideas and tricks that guarantee to attract buyers and fulfill their desires. For more in-depth details, let’s dig in!
Why Finding Unique Clothing Photography Ideas Is Worth the Effort?
Whether you run an online store or a physical retail location, clothing photography plays a vital role in attracting or retaining customers. That’s why top-rated clothing brands, like Vogue, Zara, and others, upload trendy and fashionable apparel images that interact with consumers.
Still struggling to think why you need clothing photography ideas to promote your online store or launch a new product line? Here are some key reasons demonstrating the impact of apparel photography ideas
Brand publicity
Clothing photography represents your brand, values, and personality uniquely. High-quality photography ideas distinguish your brand from competitors, from highlighting clothing style to fabrics.
Increase revenue and sales
New ideas and representation hacks help you to boost your sales. Sometimes, people might have missed the glow of products. However, you can attract and convince them to scroll more and purchase through Amazon apparel photography.
Trendy and creative
The fashion industry is changing rapidly, as are shoppers’ preferences. You can add value to your sales line through the latest apparel photography ideas.
Setting Up the Perfect Clothing Photography Environment
As per the study, 90% of online buyers say photo quality is the most crucial factor in an online sale. That means without high-resolution apparel images, you can’t build trust among buyers and fulfill your e-commerce business goals. So, to ease the path, we’ve highlighted clothing product photography step-by-step details below:
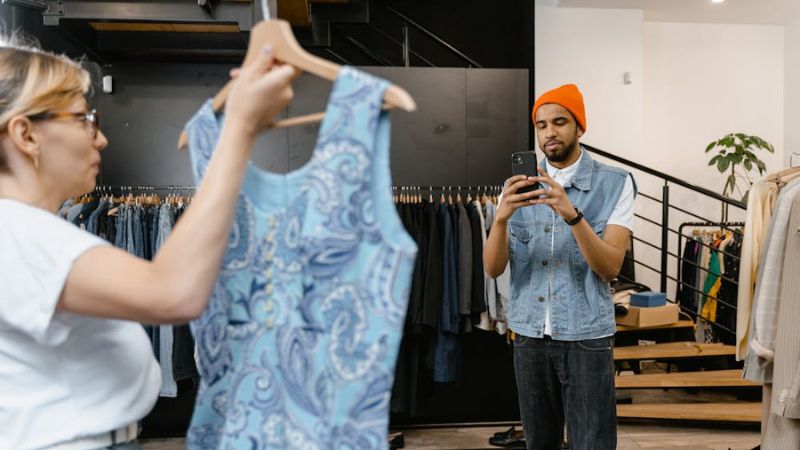
Prepare your clothing & choose location
Before shooting, be aware of wrinkles, lint, pilling, and loose stitches. Minor details can make or break your clothing photographs’ actual outlook. So, look at every detail closely and use an iron or clothing steamer to smooth out wrinkles.
Also, decide when and where you shoot your apparel images. For example, lifestyle photoshoots can be done anywhere using natural light. But you need to consider the time and where the sun is brighter to avoid shadows. Keep in mind, golden hours are ideal for warmer colors and blue hours are best for cooler tones.
Backdrop Choices
White or light gray backdrops are a great choice to showcase apparel’s actual color and overall details without any distractions. From Amazon to Shopify, most e-commerce giant marketplaces refer to white backgrounds. But you can use a slightly off-white pattern or textured backdrop, depending on your clothing color. Remember, busy, same apparel colored backdrops and distracting ones distract audiences from their focus point. Backdrops affect the subject, so choose it wisely.
Essential Equipment
Buying apparels from online can be tricky because you can’t see and feel a garment in person. So, to build trust among online buyers, there is no alternative to high-quality product photos.
But for this, first choose the most useful apparel photography gear that gives your preferred results, such as:
Camera recommendations
DSLR & mirrorless cameras are ideal for clothing photography. For example, Canon EOS R5 (excellent color reproduction and detail capture), Sony A7R IV (top-notch dynamic range and resolution ideal for capturing texture), and Nikon Z7 II with 45.7MP great color accuracy.
Lens recommendations
50mm or 85mm prime lenses are great for portraits and full-body shots without any distractions. For shooting both wide and close-up details, use a versatile zoom lens like a 24-70mm and a 100mm macro lens for texture details.
Tripods and stabilizers
Stability is important to avoid blur, especially when shooting at lower shutter speeds. Choose lightweight, sturdy, and versatile tripods for location or studio shoots.
Reflectors
These are essential to filling the shadows. Different reflectors, such as silver, gold, white, black, translucent, and more, are available in the marketplace.
Diffusers
These are effective for creating a softer, more flattering effect on fabrics and reducing harsh shadows. Examples include umbrella diffusers, softboxes, and diffusion panels.
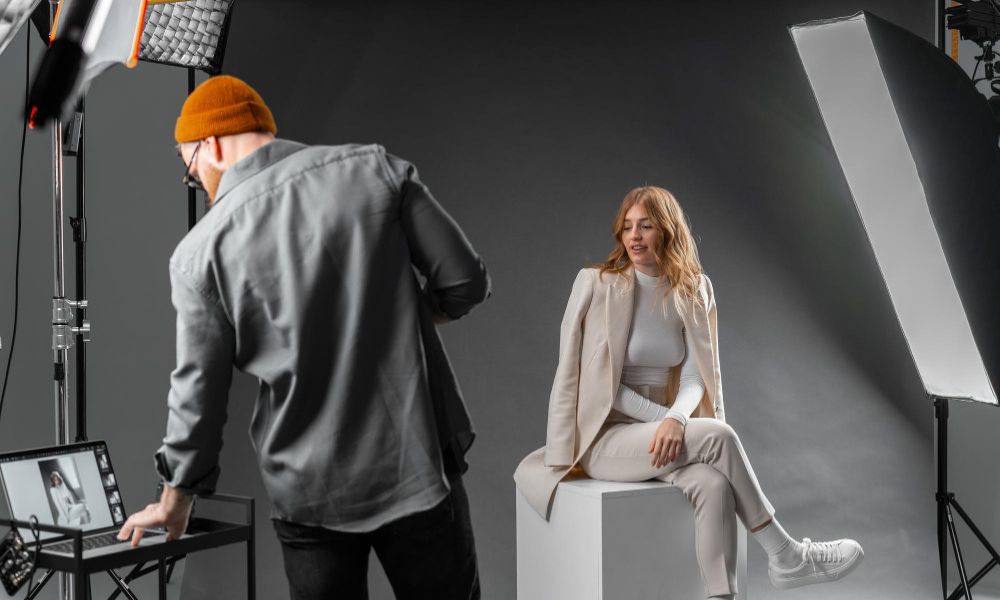
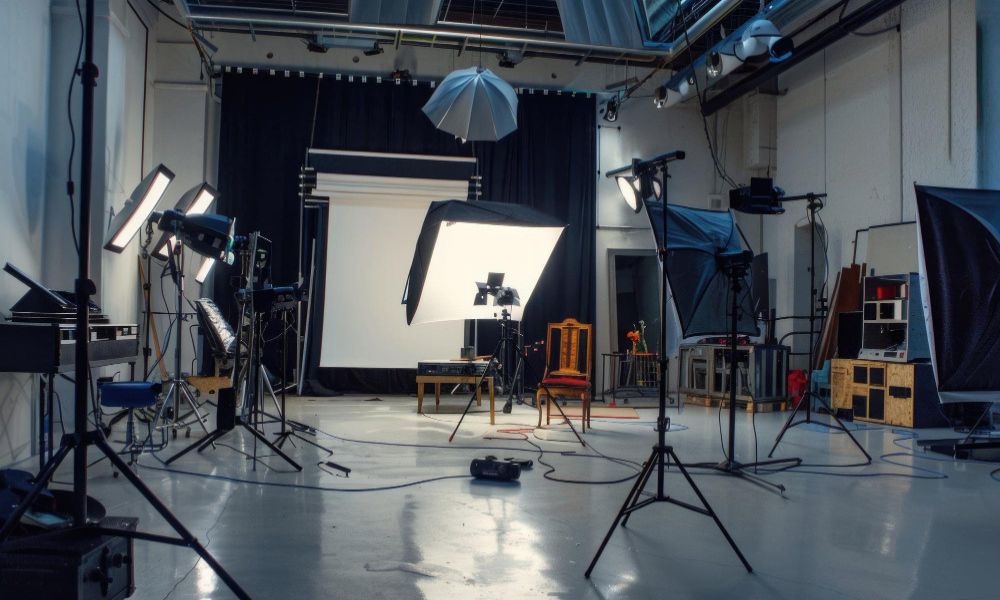
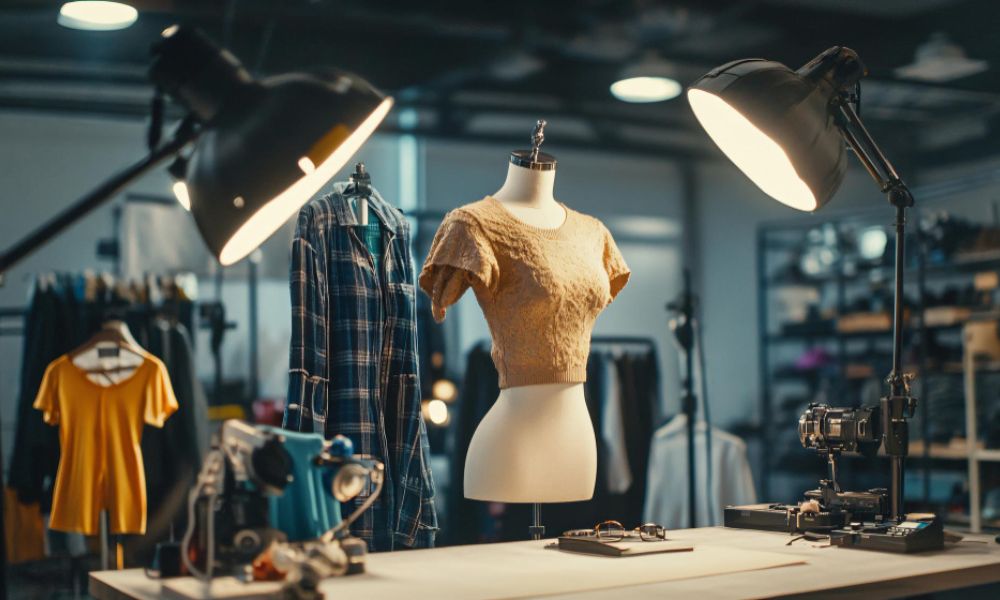
Lighting Setup
You can’t demonstrate a product’s uniqueness, designs, and others without a proper product photography lighting setup. As you know, there are two types of lighting: natural and artificial. For more in-depth details, let’s check out below:
Natural light
Are you planning for an outdoor clothing photoshoot? Natural light is the best source of sunlight that helps you explore. Select a golden hour to get warm and soft light. But avoid shooting during midday, as the harsh and direct sunlight creates unflattering shadows and highlights. However, windows are ideal for indoor photoshoots for a more organic lifestyle aesthetic.
Artificial Light
Do you plan for an in-studio photoshoot? There are different lighting sources you can use to create engaging clothes photos, such as:
Key light: Position the main light at a 45-degree angle from the model apparel photography. Continuous LED lights or strobe lights work best. Softboxes or octagonal softboxes provide a softer, diffused light and reduce harsh shadows.
Fill light: It is positioned opposite the key light at a lower quantity.
Backlight: By doing this photography, you get in-depth details and separation from the background
Softboxes: These lights are great for diffusing light, creating soft and even light sources to reduce harsh shadows.
Ring light: Use ring lights for close-up shots or when focusing on smaller details, like accessories, fabric textures, or others.
Clothing Photography Ideas You Shouldn’t Miss
50% of online shoppers believe high-quality product images are more important than product descriptions, ratings, and reviews. Now that you have essential equipment, a perfect lighting setup, and stylings for clothing photography, it’s time to shoot yours. Here are some helpful ideas that help you in every photography step:
Use the right camera settings
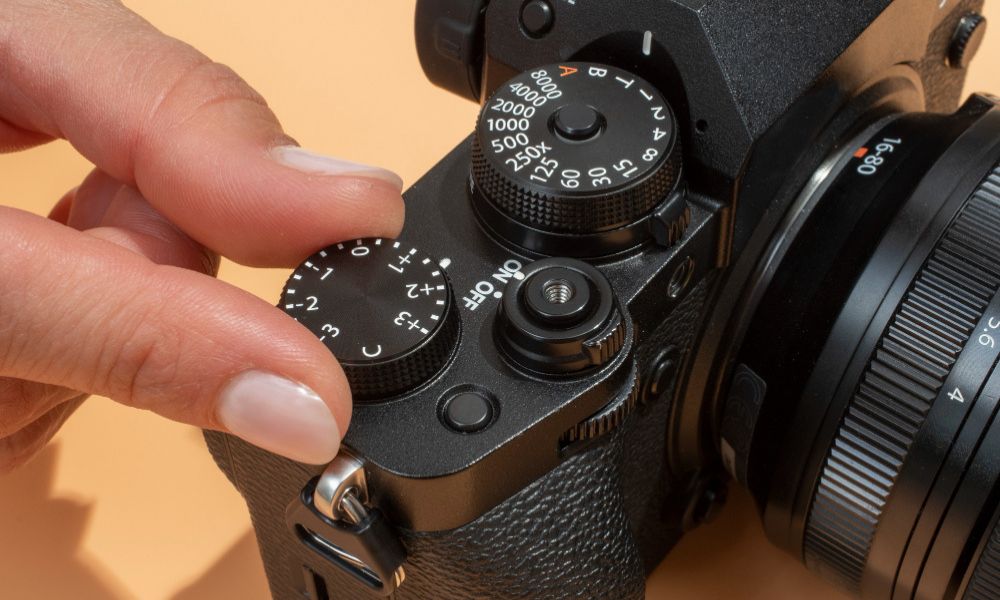
Photography clothing or other photography genres’ success lies in the selection of perfect camera settings, such as –
- Aperture: A high aperture range between f/8, f/11, or more is the right aperture for clothing photography. This range helps to focus more on your apparel products. Choose an aperture of f/1.4 or f/5.6 for close-up shots and making the background blurry.
- Shutter speed: Set the shutter speed around 1/250 for high-quality product photos. Remember to check the exposure meter and histogram to ensure the photo is clicked perfectly. However, if you notice the images are overexposed, set the shutter speed around 1/500.
- ISO: The ideal ISO for apparel product photography is between 400 and 800, depending on your light sources. If you plan to use artificial lighting to enlighten and showcase the creative path of your product, set it between 600 and 800, which will allow you to rescue the noise.
Flat Lay Photography
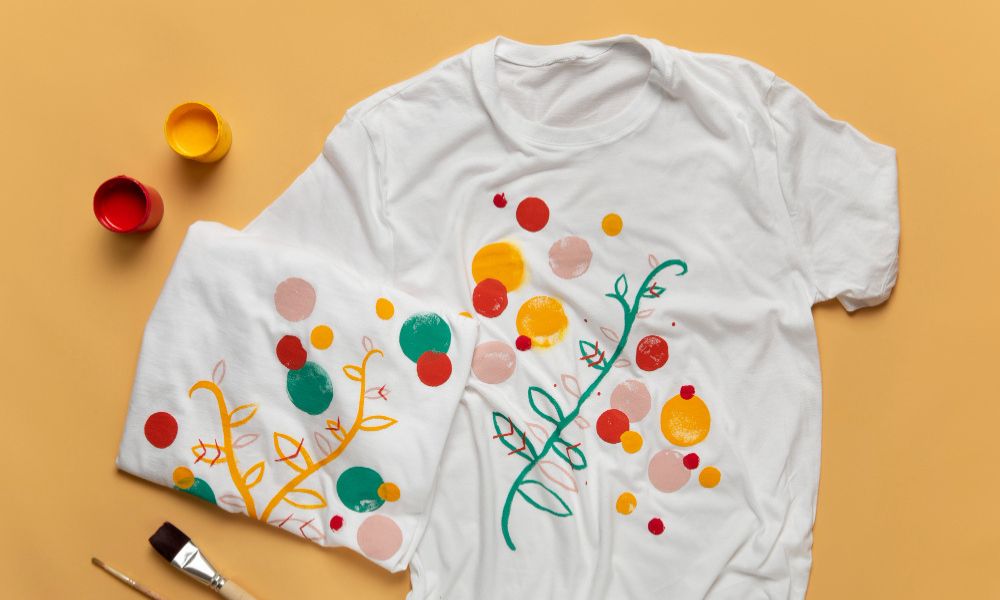
Flat-lay clothing photography is the most trendy and cost-effective way for photographers to demonstrate your clothing items. For a flat-lay photoshoot, you’ll need a large piece of white paper or a sheet to lay your product on. Also, use props that complement your product images, like jeans, sweaters, accessories, and more. Once everything is set up, shoot the photo facing the camera down 90 degrees.
For more details, let’s check out below:
- Organized outfit: Arrange an entire outfit, such as tops, shoes, accessories, or others, to give customers styling ideas, like how all the pieces go together. Layer the clothes like they are worn, like placing a jacket over a shirt and adding a folded scarf at the neckline.
- Color story: Try to focus on one color and use different shades that complement it. You can also combine contrasting or complementary colors for flat lay photoshoots.
- Multi-layer background: Instead of a plain background, try a textured surface, such as wood, marble, or fabric.
- Storytelling: To tell a story about your apparel photography, you can try day-to-night transitions or event-specific themes (weekend getaways, weddings, etc.).
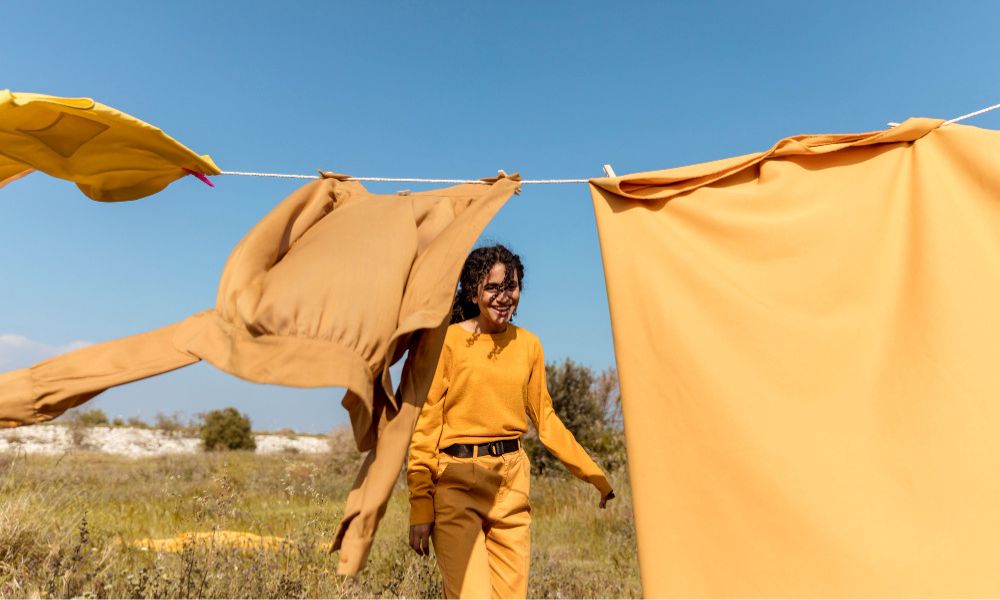
Hanging Clothes Shots
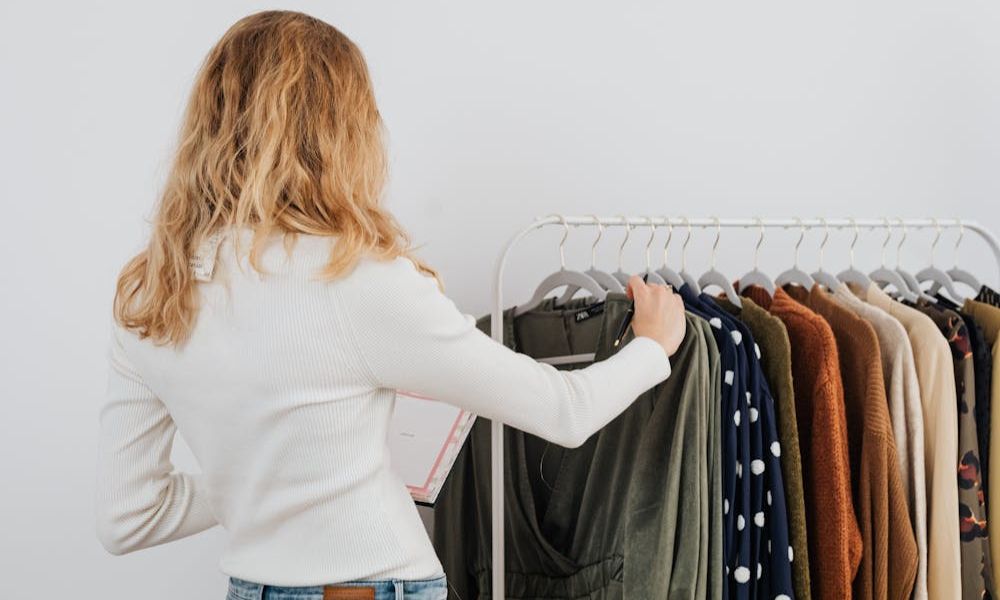
Iron or steam before hanging apparel to ensure no wrinkles show. After that, hang the clothes on simple, elegant hangers or a rack to avoid distraction and give a neat look. For outdoor photoshoots, hang the clothes using a tree branch, a rustic door, etc.
Here are several creative hanging clothing photography ideas that can elevate your product presentation:
- Simple & clean background: Use a plain white or neutral-colored background to guide shoppers to the product. The setup is ideal to highlight a modern and crisp look, especially for e-commerce product listings.
- Stylish hangers or mannequins: Hangers help to keep your apparel in shape and prevent wrinkles. Ensure the clothing is centered and hanging evenly to create a polished, symmetrical image.
- Ghost mannequin or floating garment: Ghost mannequin effect is the most popular photo editing technique for clothing photography. Viewers can observe the clothes shape, texture, styles, and more. Also, you can use fishing wire or invisible thread to hang clothing.
- Fashion boutique vibe: Try a stylish clothing rack, a minimalistic metal or vintage wooden one, to create a boutique or curated wardrobe look. You can also use pipes or chains as hangers to give an industrial look.
- Seasonal themes: Incorporate seasonal elements, like fall leaves, blooming flowers, or others, in the background while hanging the clothes.
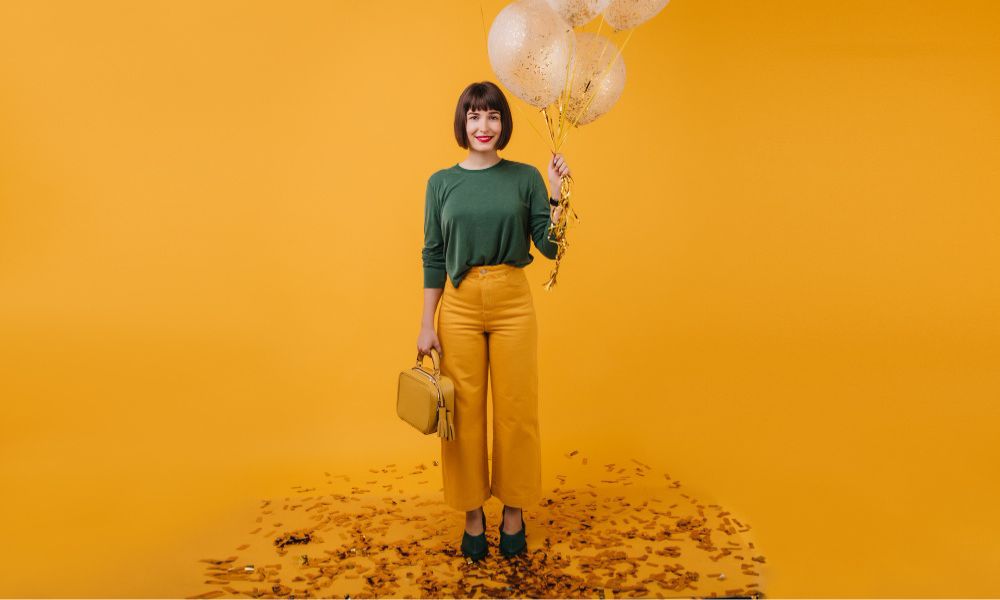
On-Model Photography
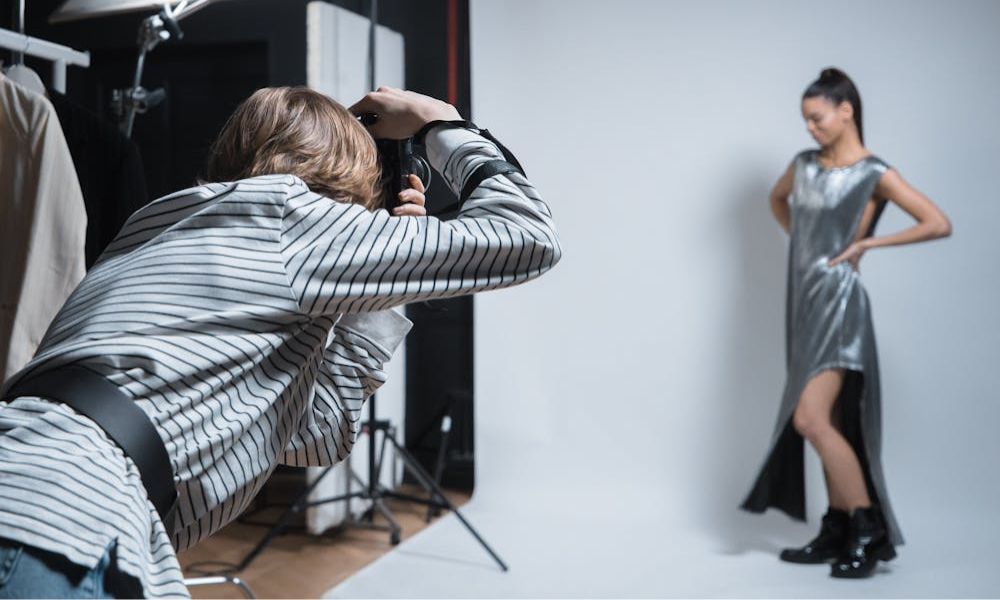
When you plan to hire models for your branded clothing photography. Guide the model’s body language, posing, and expressions to explain the desired look and communicate with models. Also, pay attention to details like hand placement, body posture, and facial expressions.
- Model positioning: Position the model at the center of the frame with a focus on the entire outfit. Ensure that the model is standing or posing in a neutral way to showcase the fit and structure of the clothing.
- Multiple angles: Try to shoot from multiple angles – front, back, and side- to give consumers a full view of the apparel.
- Background: Use a neutral white-gray or pastel background to keep the focus on the main point.
- Motion shots: Encourage the model to walk, jump, or twirl to emphasize the clothing’s flexibility.
- Group or pair photography: Photograph two or more models wearing the same design and different clothing colors. In this way, shoppers get an idea about the collection.
Ghost Mannequin Photography
In this e-commerce era, shoppers are confident in buying products that give them a physical store experience, like wearing outlook, fittings, textures, styles, and more. Ghost mannequin photography techniques help give buyers the exact brick-and-mortar shopping vibes by creating 3D effects and the illusion of a garment being worn by an invisible model.
For small businesses or who have limited budgets and can’t hire a model, a ghost mannequin is a good alternative for their e-commerce store fashion photography. Here are some hacks you can follow for different clothing items:
- Photograph your apparel from multiple angles.
- Use two studio lights and umbrellas for the studio setting.
- Utilize post-production services to create a ghost mannequin effect.
Detail Shots
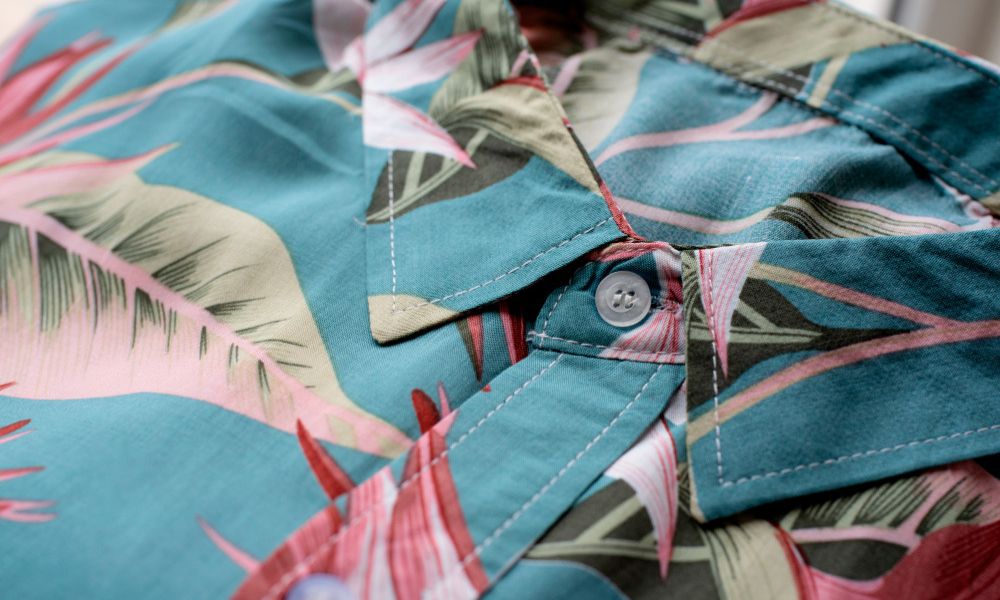
Take close-up photos to highlight every detail of clothing items, such as fabric, stitching, tags, and so on. Detailed product photography is useful for online stores, social media, and more.
Here are some tips that guide you in capturing amazing, detailed apparel photos.
- Use proper lighting; not too much or too little to produce more appealing.
- You can try shooting through manual mode so that you can change the aperture, focus, and shutter speed.
- You can add accessories, like sunglasses, shoes, or others, to complement the apparel.
Lifestyle Shots
Lifestyle shots are more realistic and creative clothing photography, where models represent a real-life experience. For example, Nike’s shoe photography, Gucci’s bag photography, and many more. Lifestyle shots also build trust among buyers because they can visualize the scenarios like they are using those.
Let’s check out how you can shoot those amazing photos below!
- Capture the model’s candid moments, mid-activity, and more.
- Consider monochrome backdrops to make the clothing stand out.
- Capture models and stylists in preparation mode, getting dressed, or choosing accessories, etc.
Group Shots
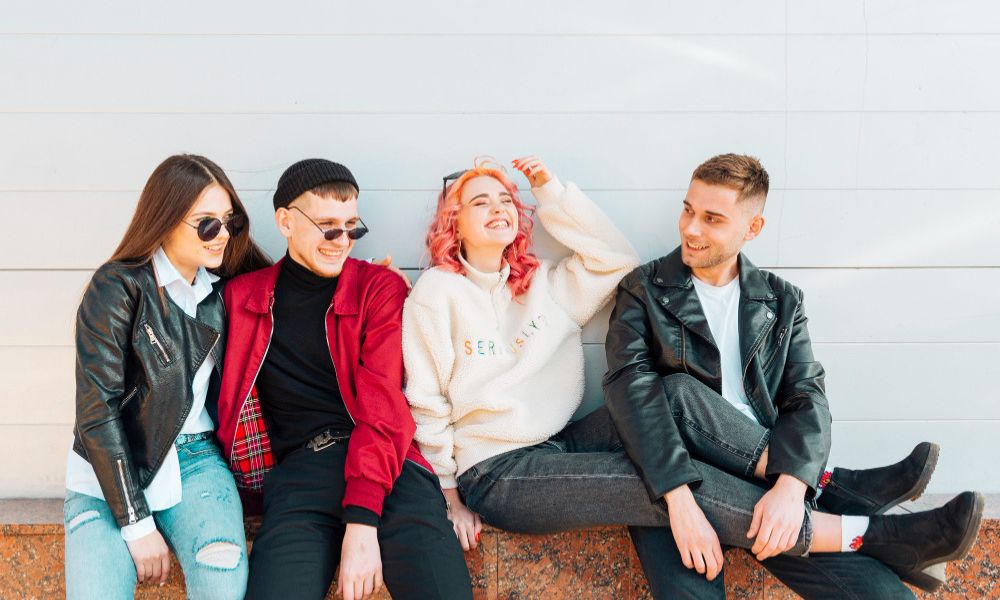
Try to capture group shots of your clothing items with different models in one image. It helps viewers to understand how the clothes will look on them. For example, Zara’s apparel product brand.
Here are some group-themed ideas that help to boost your sales:
- Utilize seasonal themes, like fall theme (cozy sweaters, scarves, etc.), winter wonderland (hats, boots, etc.), and others.
- Mix high-end fashion with streetwear and select graffiti walls or concrete backdrops.
- Sportswear or activewear are the best for group apparel photography.
Use Props
Props are great to add visual interest and help to narrow down a story in fashion photography. So, choose props that complement the clothing and the overall photoshoot theme. For example, choose flowering dresses, floral patterns, or others for spring or summer shoots.
Here are some hacks that ease your way to select the best props:
- If you shoot in an outdoor environment, choose camping props. But focus on luxurious props for high-fashion photoshoots.
- Props are useful for flat-lay clothing photography, so choose a simple and no-frills background.
- Mix or use trendy props, personal accessories, decor items, and more to attract online shoppers.
Now, you’ve awesome and creative hacks to promote your product line in the best limelight and encourage shoppers to add items to your cart. It’s time to click the shutter button. Before that, go through expert apparel photographers’ clothing photography tricks they follow to boost revenues and traffic.
Clothing Photography Tricks for the Best Possible Result
According to statistics, product pages with high-quality photos get 95% more organic traffic. To achieve this standard, you can apply different tricks and techniques to ensure consistency, emphasize product fit and shape, and make it more visually appealing. Here are some key product photography tips!
Consistency Across Shots
Who doesn’t want to make their brand more recognizable to their target customers? So, use consistent lighting across the shots and maintain a uniform look, styling, and background. Don’t try to change the lighting between sessions, and use the same camera settings, as we’ve discussed earlier.
Focus on Product Fit and Shape
Ensure the product is well-organized and shaped to give online shoppers a physical store experience. For this, you can use live models or mannequins to display your clothing lines perfectly. Models also add personality, give consumers a real-life experience like they are wearing it, and more. Guide models in showcasing the product’s shape and fit and ensuring the cloth is properly steamed or ironed before the photoshoot.
Using Negative Space
Try to create ample negative space around your clothing product to attract website visitors’ attention to your apparel. This photography hack helps give a high-end, editorial look and emphasize the garment’s design. Using a solid or minimal background helps you create more negative space and boost your branding through amazing creation.
Shooting in High Resolution
According to statistics, 75% of online shoppers rely on product photos before confirming a purchase decision. Also, 22% of returns happen due to the mismatch of products in person. So, ensure that your product images are high-resolution and allow buyers to zoom in and examine all details, like textures, fabrics, and stitching.
Post-Processing Tips
Now that you’re done with photoshooting, it’s time to retouch images to make them ecommerce-worthy and the best quality ones. But before that, you need to consider how you publish your product photos in your e-commerce store and for which platform.
After that, try some basic photo editing, such as –
- Color correction: Adjust the color balance and hue of the image to ensure the actual apparel colors that shoppers buy from your online store. Also, focus on highlights and shadows to create a more balanced image.
- Retouching: This editing involves wrinkles or creases in clothing. You can use a white foam board or other product retouching techniques. Don’t overdo retouching or manipulation.
- Ghost mannequin effect: This effect makes your apparel more professional, like a human wearing a cloth, without displaying a model. Simply, it gives buyers a more three-dimensional outlook.
- Background removal: With this editing technique, you can easily remove unwanted distractions in the image.
- Exposure: Adjust exposure to make photos well-lit; ensure no areas are too dark or bright.
- Resize: Resize images by maintaining e-commerce store requirements or other platforms.
However, post-production requires a keen eye for details, expertise in trendy editing techniques, and photo editing software like Adobe Photoshop. Also, you need to invest lots of time to edit by yourself. That’s why professional photographers outsource from a reliable photo editing agency.
Frequently Asked Questions About Clothing Photography Ideas
How much does clothing photography cost?
Professional product photographers may charge $150-$400 or more per hour, and an amateur may charge $25-$75 or more per hour. Some photographers may charge $20-$65 or more per product photography. The pricing of apparel photoshoots may also vary depending on the location or in-studio.
What is the best camera setting for clothing photography?
The best camera settings for clothing photography are:
- A narrow aperture range, like f/8 or f/11, is best to frame the backdrop, and the clothes both look sharp.
- A low aperture, like f/4 or f/5.6, is best to blur the background.
- Don’t shoot at f/1.8 or f/2 because it might blur some parts of your apparel.
- Set the shutter speed around 1/250 (ideal to freeze movement and prevent blur), and
- The ISO is between 100-400 (help to minimize noise).
Conclusion
Creating a consistent look and feel and highlighting apparel’s overall details, like fabrics, styles, designs, or others, can earn consumers’ trust. We hope that by going through our clothing photography ideas, you’ll be able to provide visually appealing product images that speak louder to their quality.
To make your product stunning, always pay attention to lighting, appropriate equipment, styling, and other details.