16 May Setting the Stage: Studio Photography Tips for Outstanding Results
There are so many studio photography tips available on Google. But after long research, I listed these five most important tips for studio photography that can bring outstanding results for you.
If you want to make sure your photos look their best, studio photography is the way to go. You’re the director and you have all the control over the lighting, background, costumes, props, and everything else. You can adjust the lighting to get different effects, pick the perfect backdrop, and plan everything down to the tiniest prop.
It’s like having an artist in your studio, with all the tools you need to make your vision come to life. Plus, you get the peace of mind that comes with having everything you need in a professional studio.
However, let’s learn about the five best studio photography tips in detail below.
What is Studio Photography?
Studio photography is a form of photography that is typically conducted in a controlled environment, such as a photo studio, where the photographer is in complete control of the lighting and settings. This type of photography typically involves the use of flash and other artificial lighting, though it can also be done with natural light coming through a window. This form of photography is commonly used in the fashion industry, but can also be used in any situation where the photographer must be in control of the entire shooting process, such as product photography, food photography, or portrait photography.
Top 5 Best Studio Photography Tips
If you want to take great studio photos, you’ll need to invest in some gear and learn the basics like lighting, camera settings, and how to create poses that will help your models look their best. Check out this guide to learn how to become a pro in studio photography. Before knowing the studio photography tips you must know what equipment studio photography needs.
Studio Photography Equipment
If you’re thinking of opening a photo studio, there’s a lot to consider. From the location to the design, it’s important to make sure you have the right equipment. With so many choices, it can be hard to know which pieces to buy first. That’s why we’ve put together a list of the 10 most important accessories to help you get your studio up and running.
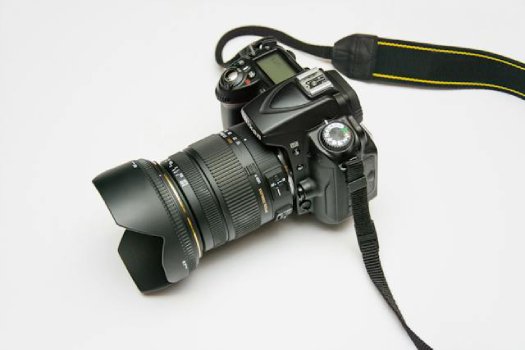
Camera: The initial step in constructing a photography studio is to acquire a top-of-the-line camera that is capable of capturing a wide range of images.
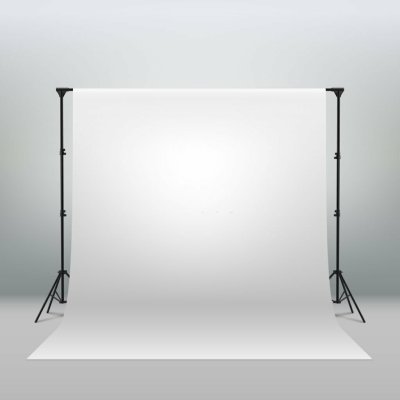
Backdrops: Backdrops are essential for a basic video and headshots. That’s why it’s one of the essential pieces of photography studio gear.
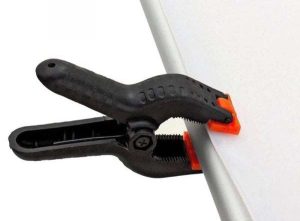
Clamps: Clamps are necessary for a variety of applications, from securing a foam core sheet to a lightweight stand to remove wrinkles from a model to create a background for a desired shot.
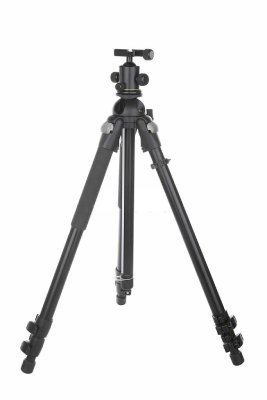
Tripods: If you want to get started, you’ll need a strong tripod that can handle long-distance trips out of the studio.
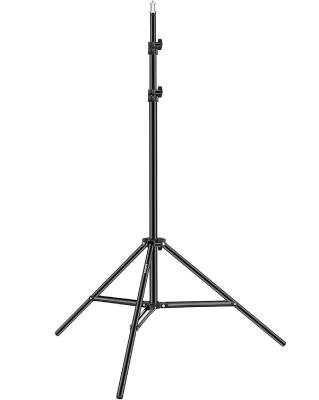
Background light stands: Nowadays, you won’t find a photo studio without background lights. A good photographer will be able to shoot below people sitting, behind machinery, or even close to the ground to get the perfect lighting that’ll make your subject look amazing.
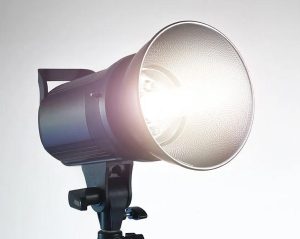
Monolights: Most people don’t think about monolights when it comes to photography studio equipment, but they’re a must-have for all professional photographers.
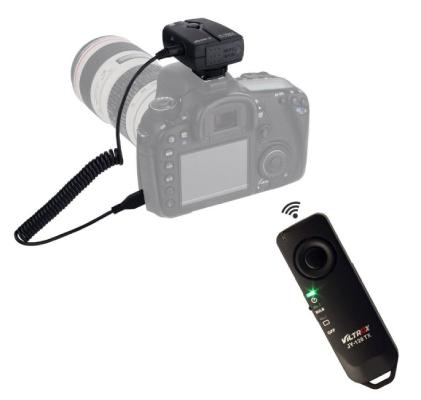
Wireless remote triggers: Regarding cables, the less on the floor, the better. Numerous wireless remote triggers are available that will ensure your floors remain cable-free and fully functional.
Laptop/ Desktop: Now that you have entered the world of photography, your first responsibility is to purchase a laptop or desktop computer that meets your needs.
Studio Photography Composition Rules
Composition in photography is all about arranging the elements of a scene in a way that makes it look good. It’s about making sure the elements represent the photographer’s message in a way that’s harmonious, powerful, and effective. Photography composition is the way we use different compositions and elements to tell a story. It’s important to know the rules of composition, but instead of following a set of rules, we should focus on the principles and techniques that help us turn our ideas into images. If you’re a photographer, you must learn the rules of composition. Below are the most important composition rules of Photography.
- One of the fundamental rules of photography composition is the rule of thirds.
- Composition lines are an effective way to draw the viewer’s eye.
- Golden Triangle is a classic rule of composition
- Curves are the type of composition you need to create interest
- Scale is one of the most impressive rules
- The Rule of space is a basic rule for beginners
- The rule of Odds is a useful composition guideline.
Indoor Photography Tips
Below are the five best studio photography tips indoors that you can follow to have outstanding results.
Work with Single Point Focus:
Every photographer knows how important focus is for a great portrait. Unbalanced images can’t be fixed during photo editing. That’s why setting focus is so important – it’s simple. Switch to single-point focus and you’re good to go. While the automatic coordinate system dictates where the camera should focus, Single Point Focus allows you to do it yourself. For instance, you can choose to focus on the eyes, a tiny imperfection, or lips to completely change the tone of your photo. When you’ve mastered single-point focus, switch to it.
Move In, Move Out, Shoot Up, Shoot Down:
When it comes to taking photos, exposure and composition are two of the most important things to consider. Sure, there are some basic rules you can use to make a good photo, like the third rule, but don’t be afraid to try something different. When it comes to portraits, don’t be scared to move around and try different angles – you never know what might come out of it! After all, rules are only meant to be broken once!
Adjust Your Exposure:
In the past, photographers relied on light meters and intricate calculations to identify the optimal location for lighting in a studio setting. However, modern digital technologies have made this process much simpler. Utilizing a histogram of the camera and viewing images in playback mode can provide a comprehensive understanding of the exposure especially when a model is stationary. To expedite the workflow, tape can be used to place the desired position of the model on the floor after determining the optimal exposure and lighting.
Play with Shadows:
The length and intensity of the shadow depend on the strength of the light, the distance from the subject, and the direct or indirect light. It works in the same way as your shadow when you’re outside. When the sun is shining, your shadow will be long and intense. When the sky is overcast, you’ll barely see it. This happens because the clouds affect the sunlight the same way a diffuser affects the flash in your studio. The light surrounding the subject in the frame is even and bounces.
Always Shoot RAW:
Raw is the best way to take high-quality photos. If your camera is of good quality, you can easily take photos in both JPEG and Raw files. JPG pictures look better straight from the camera but it is difficult to edit them because the camera already knows every pixel’s color. On the other hand, Raw files are not compressed at all. Raw files contain much more detail. You can adjust colors, saturation level, contrast level, hues level, exposure level, etc. To understand Raw vs. JPEG, shoot some Raw photos and edit them with your editing software.
However, if you want to learn about Portrait Photography Tips then click here.
Studio Photography Post-Processing Tips
Whether you want to bring an image back to life or create a thing that defies gravity, photography post-processes offer endless possibilities. While looking for tutorials on specific photo edits is helpful, a thorough understanding of photography post-processing techniques allows even novice users to learn concepts that can be applied to any image.
- If you want your photos to look professional, start by straightening the horizon.
- Then, adjust the white balance to make them look natural.
- If you want your images to stand out, adjust the contrast to make them look more intense.
- If you want to get the most out of your photos, adjust the saturation or vibration sliders to get better colors.
- Finally, sharpen your photos to make sure they show up best on the web.
Controlling Depth of Field
Depth of field (DOF) refers to the range of distance in a photograph where objects appear acceptably sharp. In studio photography, controlling DOF is essential because it directly impacts how your subject stands out from the background and foreground. Here’s how you can effectively control depth of field:
- Aperture Settings: The primary tool for controlling DOF is your camera’s aperture, measured in f-stops (e.g., f/2.8, f/4, f/8).
- Wide Aperture (e.g., f/2.8 or lower): Using a wide aperture allows more light into the camera and results in a shallow depth of field. This is great for portraits because it blurs the background, making your subject pop.
- Narrow Aperture (e.g., f/11 or higher): A narrow aperture lets in less light and results in a deeper depth of field. It’s useful for product photography or situations where you want to keep the entire scene in focus.
- Focal Length: The focal length of your lens also affects DOF.
- Short Focal Length (Wide-Angle): Wide-angle lenses generally have a deeper DOF, even with a wide aperture. They are great for group shots and capturing more of the scene in focus.
- Long Focal Length (Telephoto): Telephoto lenses tend to have a shallower DOF, even with a narrow aperture. They are ideal for isolating subjects and creating a pleasing background blur (bokeh).
- Auto vs. Manual Focus: Depending on your subject and the desired DOF, you may want to use manual focus to precisely control which part of the image is in focus. Auto-focus can be useful for quick and accurate focusing but may not always achieve the desired effect.
Frequently Asked Questions
Why is Studio Photography Important?
Taking pictures in a studio gives you complete control over the lighting and gives you a lot more options for your projects. This helps you get a better understanding of how light works and how to adjust and make the most of it.
What is the best camera setting for studio photography?
For studio photography, a typical camera setting includes:
- Low ISO (100-200) to keep your image sharp and reduce noise
- Medium aperture (between f/8 and f/11) for good depth of field
- Slower shutter speed (usually synchronized with studio lighting) to expose the scene properly
- Specific camera settings can vary depending on what you’re trying to achieve, the lighting conditions you’re shooting in, and the subject you’re photographing
What color is best for studio photography?
When selecting a color for studio photography, it is often contingent upon the desired atmosphere and the subject being photographed. Generally, neutral colors such as white, grey, or black are employed as backdrops and surfaces, as they provide a neutral and versatile background that enables the subject to be highlighted. Additionally, other colors can be used through props, illumination, or post-production to enhance the tone of the image or add visual interest.
Conclusion
So, these are the five best studio photography tips given above. Hopefully, you like these tips very much. When you first start shooting studio photography, it can be a little intimidating. Some shoots are harder than others. Successful studio photography is not only about using the correct techniques, but also about your creativity and your point of view as a photographer.
I hope that these studio photography tips will be of help to you as you embark on your photography journey. There are bound to be great things ahead of you. All you have to do is stay focused, experiment a lot, and find the unseen. A photographer is an artist. After all, a photographer is an artist and there are no rules that must be followed.