27 May Top 10 Shoe Photography Ideas & Tips For Product Photographers
Shoes are no longer just a necessity. It has become a fashion element. The young generation loves to showcase their shoe collections with the rise of social media and eCommerce platforms. This passion for shoes is encouraging entrepreneurs to come up with new brands.
As a consequence, the demand for irresistible shoe photographs is increasing every passing day. Whether you are an amateur or professional photographer, you need to upgrade your shoe photography skills to make your images stand out in the competitive market.
In this blog, we’ll share with you 10 effective shoe photography tips and ideas that will help you capture jaw-dropping images. We’ll also discuss the necessary preparations you need before the shoot and editing guidelines to achieve professional-quality photographs.
Let’s upgrade your shoe photography skills!
Why High-Quality Shoe Photography Matters for your online business?
The success of your footwear brand depends on the photographs you use for product listings. Your product photographs are the strongest element that builds your brand image as well as converts potential customers into loyal ones.
You can have a better understanding of the significance of high-quality shoe photography if you know its contribution in detail. Let’s check it out!
- Captivating First Impressions: High-quality photos can attract customer attention at first sight. It becomes difficult for them to resist clicking on it and checking them out.
- Sense of Professionalism: Sharp and clear images make the shoes look professional. This can convince the customer that the shoes are of good quality.
- Enhance Customer Experience: High-resolution images provide visual proof regarding the details and quality of the shoes. As a result, customers make informed purchasing decisions and become motivated to repurchase too.
- Increase in Sales: High-resolution shoe images help customers feel confident in the product and develop trust in the brand. For this reason, they make the order without any hesitation.
- Competitive Edge: Professional-quality images attract customers to your products and set you apart from the competition.
Pre-Shoot Preparations For Shoe Photography
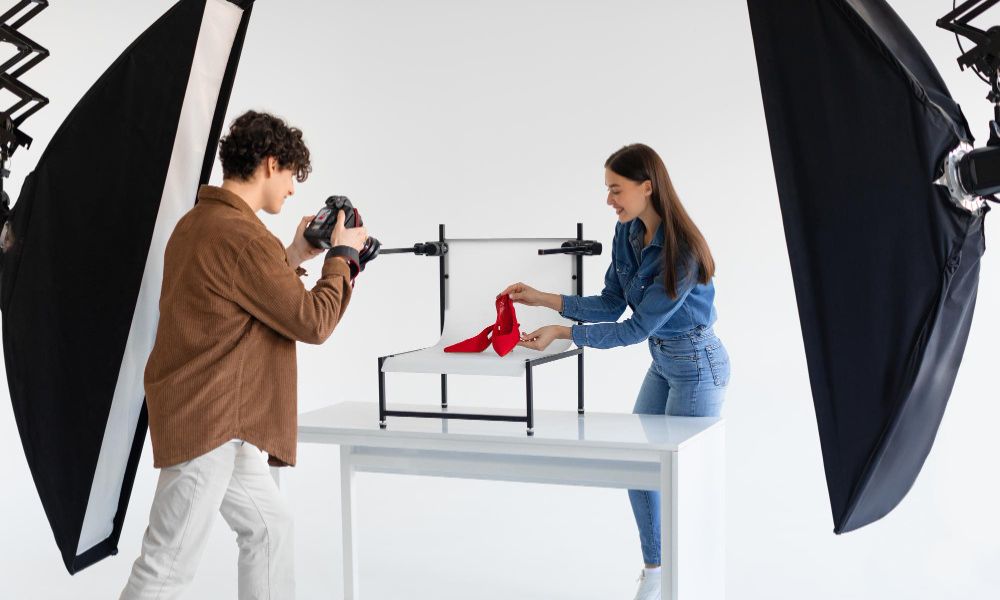
Before starting shoe photography, you have to make some preparations to ensure your shoot goes smoothly and produces professional-quality results. Let us go over the necessary pre-shot preparations.
Understanding Brand & Target Audience
The first step in your pre-shoot preparation is to research the shoe brand properly. This will help you to understand its unique identity, goals, style, and target audience. You will need this knowledge to keep the brand identity consistent.
Besides, your photography style and theme should match the preferences of the target audience. Some brands sell athletic shoes, while others offer fashion or casual footwear. Usually, fashion-conscious customers are attracted to minimalistic styles. On the other hand, athletic customers prefer dynamic and action-oriented shoe images. For this reason, you must study the brand and its target audience to make your images engaging and connect with potential customers.
So, how can you identify the preferences of the target audience? One effective method is competitor analysis. This will give you an idea of the current trends and styles they use to attract their customers. You can take inspiration from there and add your creativity to make your shoe photography stand out.
Choosing Right Equipment's
You need the right equipment to capture high-quality shoe photos. Your selected tools will ensure your images are clear, sharp, well-lit, and professional.
Here are the list of equipment you need for a professional photography setup.
Lighting Setup
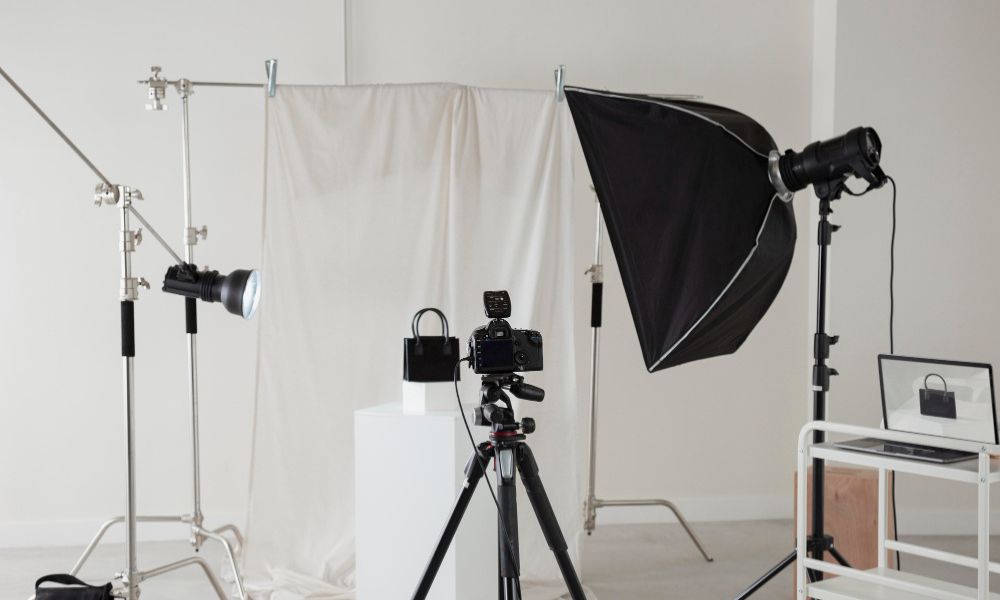
You should set up your light sources properly to ensure your images are well exposed. Low light makes your shoes look dark and unappealing. On the other hand, excess light makes images appear washed out.
You can use natural light to give your images a soft and realistic vibe. However, you need to take these precautions to avoid harsh shadows. Avoid midday sunlight and don’t let the rays fall directly on your products. Alternatively, you can use artificial light sources, such as LEDs, ring lights, or strobes. You can adjust the intensity and angles of these artificial lights based on your needs.
Make sure you use diffusers and reflectors with your light sources, be they natural or artificial. Diffusers soften the light and reflectors bounce back light onto your subject. You need both of these tools to reduce shadows and make the setting well-exposed.
Choosing Camera & Lense
Your image quality, sharpness, color accuracy, and other important factors depend on your choice of camera and lens. For this reason, you have to choose the right camera and lens to capture professional and appealing photos.
You need to choose a high-resolution camera to capture professional-quality shots. Usually, DSLR and mirrorless cameras are considered the best cameras for product photography. When choosing a camera, you must consider features, including high resolution, large sensors, and full control over manual settings.
The best lenses for product photography depend on your photography needs. Prime lenses have a fixed focal length. This is ideal for capturing clear and sharp images. However, a wide-angle lens is thought to be ideal for lifestyle shoe photography. In case you need a lens for close-up shots, use a macro lens.
Stable Tripod
Images taken with a handheld camera are more likely to be blurry. Even subtle movements can cause the camera to shake. You should use a sturdy tripod to prevent this issue. A good quality strong tripod can bear the weight of your heavy camera and lens without causing any damage. Moreover, using a tripod has various advantages including:
- Flexible use of any shutter speed
- Sharp and clear image
- Consistent framing across multiple shots
- Reduces physical strain during long-time shoot
Note: Use the remote shutter release to reduce the risk of any movement that can make your images blurry.
Camera Position & Setting
You can experiment with various camera positions to get different perspectives. These diverse points of view can help you highlight unique aspects of the footwear. The following are a few camera positions you can try to make your images engaging.
- Camera set at eye level or slightly above the shoes gives a comprehensive view and is ideal for showcasing the primary features of the footwear.
- Position the camera directly in front of the shoes. This front-angle shot gives a clear and undistorted view.
- Place your camera on the side of your shoes to showcase the design and details of the sides.
- 45-degree angle captures both the front and side views.
- For macro shots, position the camera close to your shoes.
Here are some key camera settings tips to help you achieve high-quality shoe photographs:
- Aperture: Use a small aperture between f/8 and f/16 to keep your entire frame in focus. For blurred backgrounds or lifestyle shots, use a large aperture between 1.4 and 5.6.
- Shutter Speed: You should use a shutter speed of 1/125s or more if you operate the camera handheld. However, you can use both slow and fast shutter speeds in the case of a tripod.
- ISO: Use the lowest ISO in bright light to avoid noise.
- White Balance: Use a white or gray card to adjust your white balance. This is necessary for capturing the original color of your shoes.
Clean & Polished Shoes
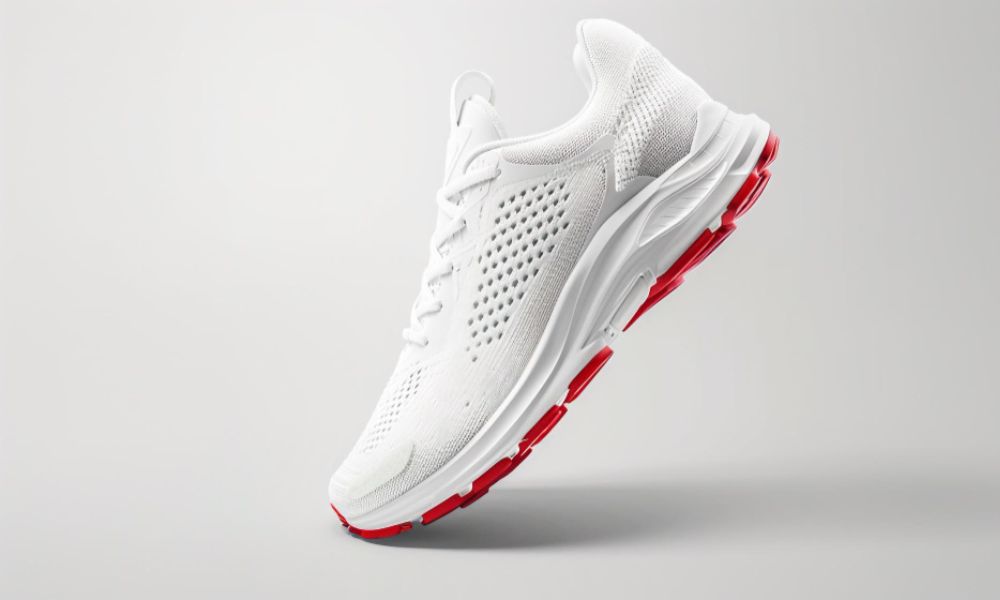
Shoes are the main focus of your photoshoot. So, you must ensure your subjects are in their best condition. You need to clean the shoes to give them a polished look. If your shoes are made of leather, polish them with wax and a soft cloth to make them shiny.
Also, you should not touch shoes with your bare hands. Wear gloves to prevent fingerprints or scratches while cleaning. You should also cut off loose threads, as these small details will be visible when you take close-up shots.
Top 10 Creative Shoe Photography Ideas
The following are 10 shoe photography ideas to help you capture shoe photographs from unique perspectives and styles.
Classic White Background Shots
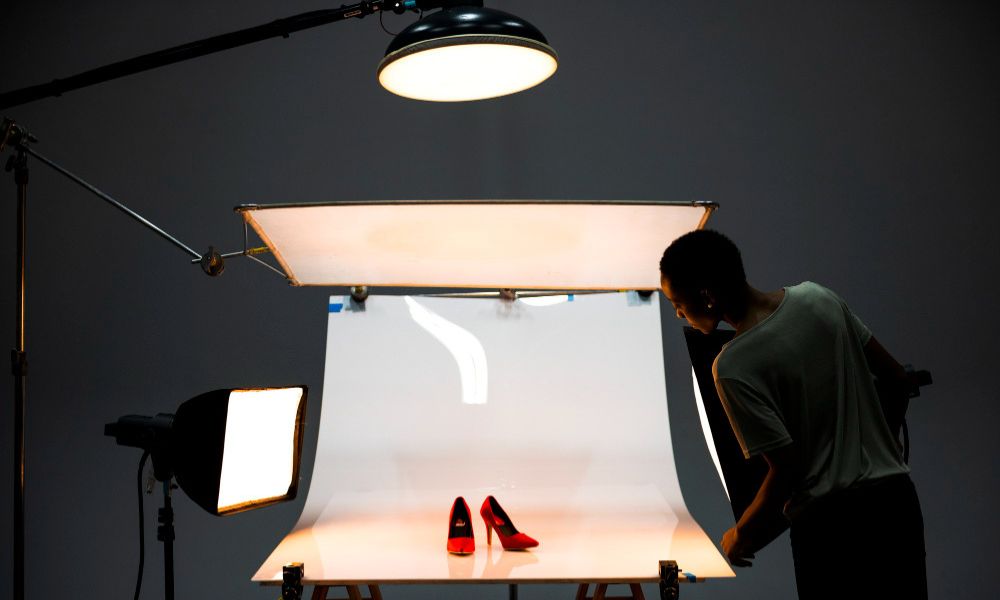
A white background is the ideal choice for professional shoe photography. This classic background looks great on eCommerce sites, catalogs, and even social media. You don’t have to worry about distraction, as the shoes will remain the center of attention.
Besides, it is a safe option for enhancing the original color of your footwear. Other colors can have an impact on your shoes. For example, some colors can take attention away from the shoes, while others may make the shoes look unappealing. Choosing the right color becomes a struggle in such situations. So, use a white background to reduce your hassle.
Here are some white background inspirations:
- Seamless Paper: Professional photographers usually use seamless paper for the infinite backdrop look it provides. You can hide the transition line between the wall and floor with this long backdrop. Besides, it is easily manageable. You just have to set it on a stand. This backdrop is ideal for capturing only footwear as well as model shoe photography.
- Canvas or Fabric: Backdrops made of fabric are less risky compared to paper backdrops. You have to tear off the paper if there are dust, stains, or creases. But, in the case of fabric, you can wash and reuse it multiple times.
- Cardboard or Foam board: These are the budget-friendly DIY backdrop options. You will find these inexpensive small backdrops in every craft shop or you can order from Amazon. You can also use them as reflectors.
Use Props & Accessories
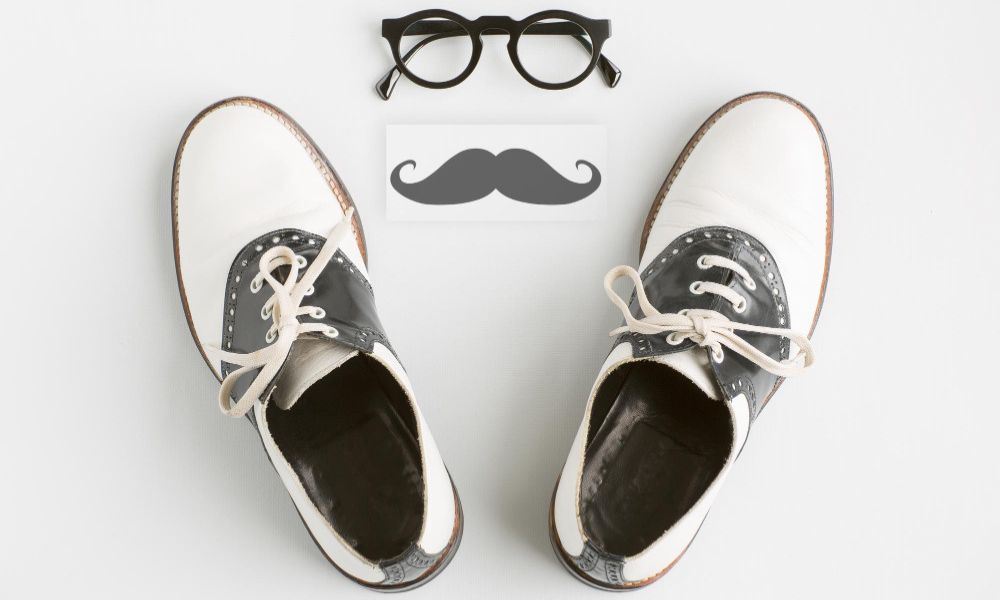
Are you looking for creative shoe photography inspiration? Then you must use props and accessories to make your images more engaging. These can help you to create a story or mood that connects with your audience.
You can use random accessories like flowers, geometric shapes, or string lights. You can also use complimentary items to create a theme or enhance functionality. For example, you can use an old compass, a folded map, or a vintage camera as props for a pair of vintage leather boots. How about using sand and shells to give the summer sandals a beachy look?
Use Different Angles
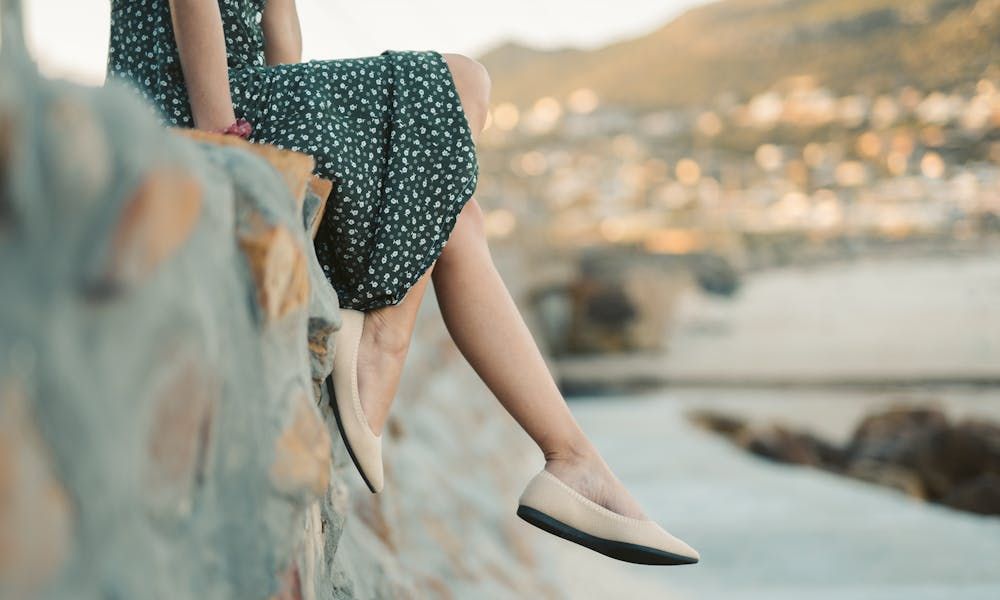
Angles are everything for shoes, as they are a three-dimensional product. You need shots from multiple angles to capture the overall features and details. Customers prefer to see a comprehensive view before purchasing shoes online. So, try to take shots from every possible angle.
You should capture images from the left, right, top, back, and front angles. These images from different angles will help the customers see the design, features, and fit of the footwear. Moreover, the versatile perspectives enhance the depth and interest of your photographs.
Close Up Shots For Detailing
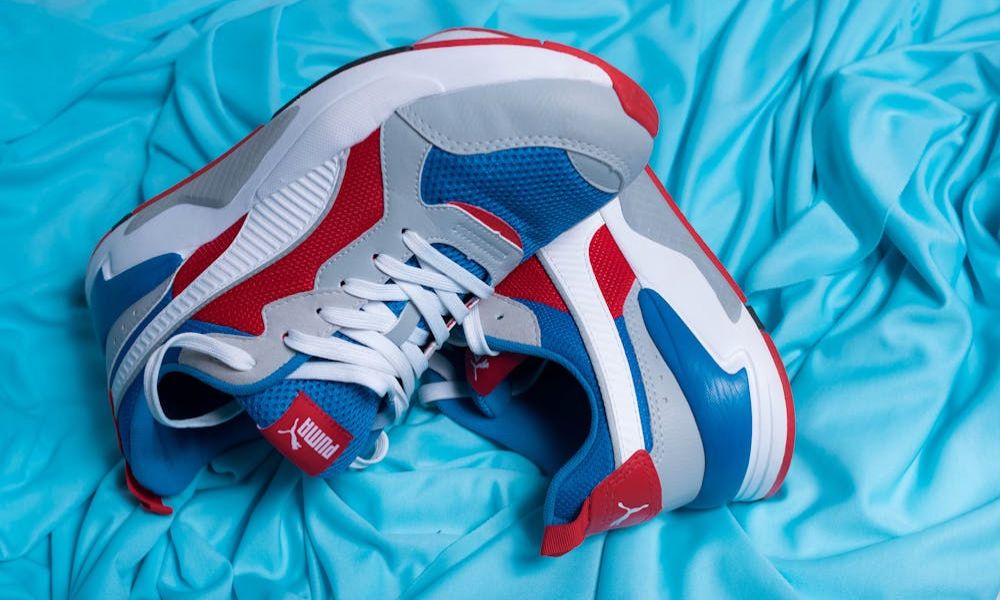
When purchasing shoes from a physical store, customers usually take a closer look at specific features of shoes, such as the texture of the material, stitching, or accessories. You can give customers a similar feeling of physical touch through close-up shots.
You can use a zoom lens or macro lens to capture these types of images. However, make sure the shoes look polished and flawless. Otherwise, your effort to enhance its appeal will be in vain.
Use Mirrors & Reflection
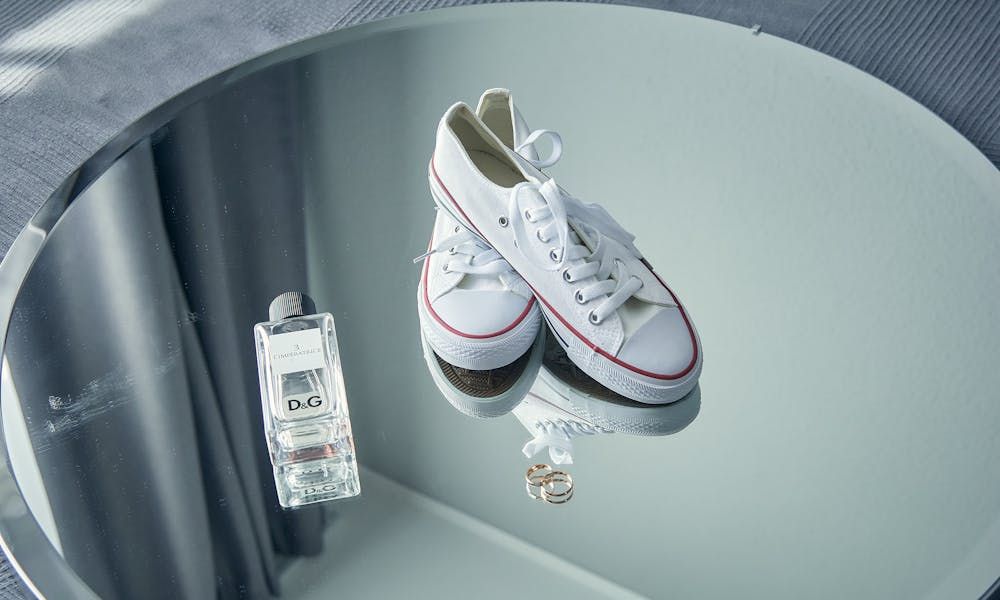
Are you looking for unique perspective ideas? Try reflection shadow shots. This technique works for almost all types of shoes. You can use a mirror or water to create the reflection. However, using a mirror can be a better choice, as it can provide a stable and clear reflection.
You can use this style of photography to show two or multiple side views in one image. For example, place the pair of heels on the mirror, with one shoe positioned at a front angle and the other shoe at a back angle. This setup will showcase both the front and back of the heels. The reflection on the mirror will give a third-angle view, which is the bottom of the heels.
Use Models
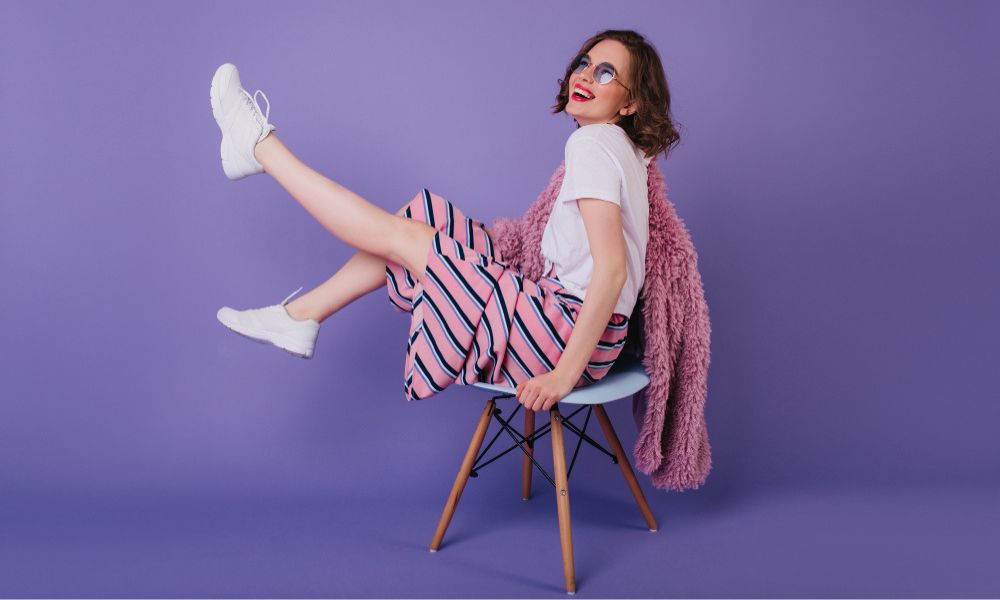
You can hire professional models or foot models for shoe photography. Shoes on models are one of the most effective techniques to increase customers’ interest. When shoes are showcased on models, customers get a clearer understanding of the style and fit. They can also imagine the look of the footwear on them.
However, make sure the appearance, outfit, and accessories of the model don’t take away the focus from the shoes. Choose minimalistic accessories and solid color outfits that complement the shoes. This will enhance the visual appeal of the photos as well as won’t create any distractions.
Lifestyle Shots
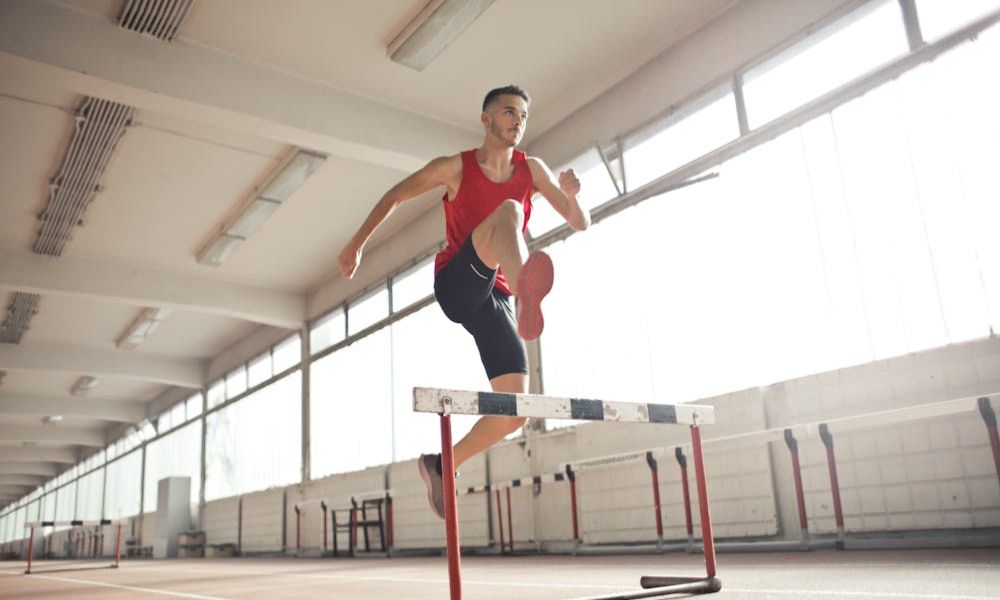
Customers become interested in buying products when they can relate them to their lifestyle. You can capture lifestyle shots to bring your shoe photography to life. Try to show the footwear in a real-life setting.
For example, sports footwear looks best when models run wearing it. This type of lifestyle shot gives an idea of the performance and functionality of the shoes. Similarly, models wearing casual sneakers and walking on the street give a sense of comfort. Models walking or sitting in high heels at a formal event or dinner setting can highlight their sophistication and style.
Lifestyle shots don’t mean you have to always use models to make customers imagine themselves using the shoes. You can create a summer picnic setup on a beach and place the sandals in the scene. Customers will get the vacation vibe from that image and consider purchasing the footwear for their upcoming beach trip.
Creative 360 Shots
Customers prefer to view the shoes from all angles before purchasing. Probably this is the reason why 360 degree shoe images are trending on eCommerce platforms these days. However, this image style completely depends on post-production.
You will need a turntable to capture this shot. For the perfect shot, place the shoe in the middle of the turntable. Then start taking the shot from the front angle and keep on capturing the image while turning the table. Make sure each angle has equal space. Also, avoid capturing the starting frame twice. Later, you have to take help from a professional photo editor to convert your still images into a 360-degree shot.
Floating Shoes Shots
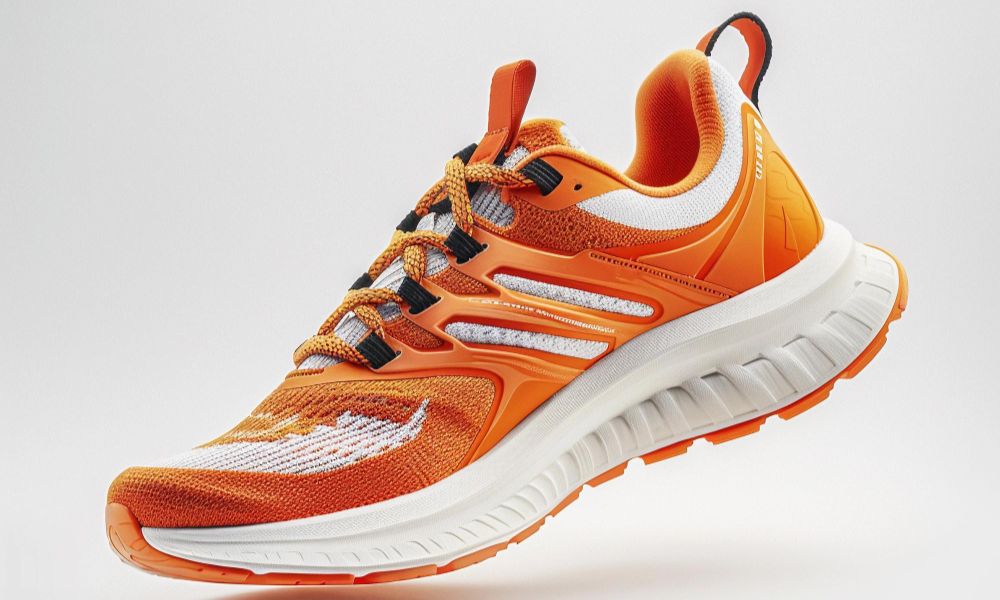
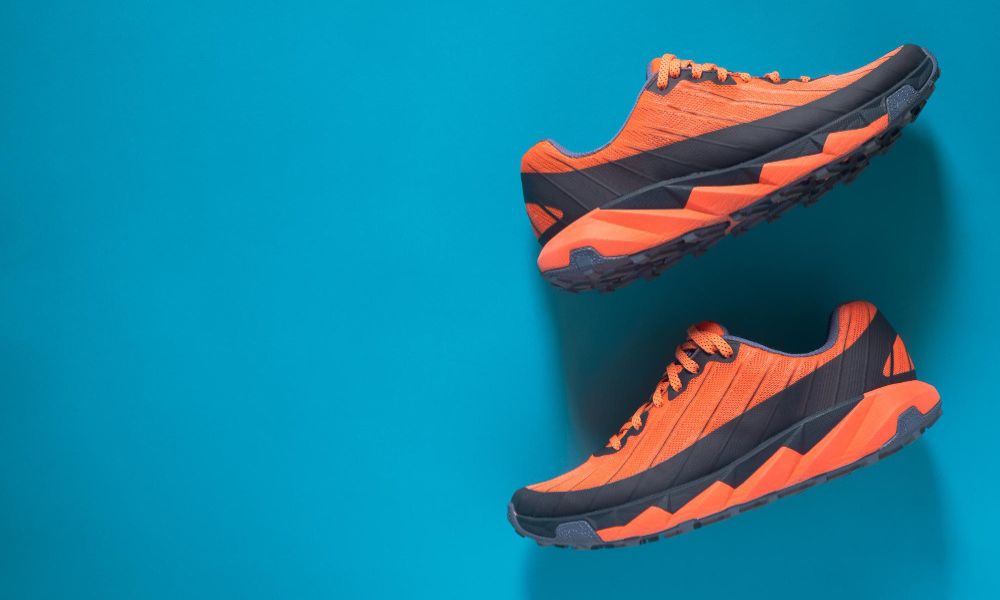
You can try capturing floating shoe images if you want to make footwear look interesting. This unique style can spark curiosity within customers and encourage them to check out the shoes. You can use strings to hang the shoes and give them a floating appearance. This type of shot can be captured in a studio setup as well as in outdoor locations.
However, the strings have to be removed during photo editing to create a floating illusion. Otherwise, the string or wire will create distractions and make the images less captivating. Hence, post-production is a necessity for this photography technique to ensure a seamless and polished look.
Outdoor Shots
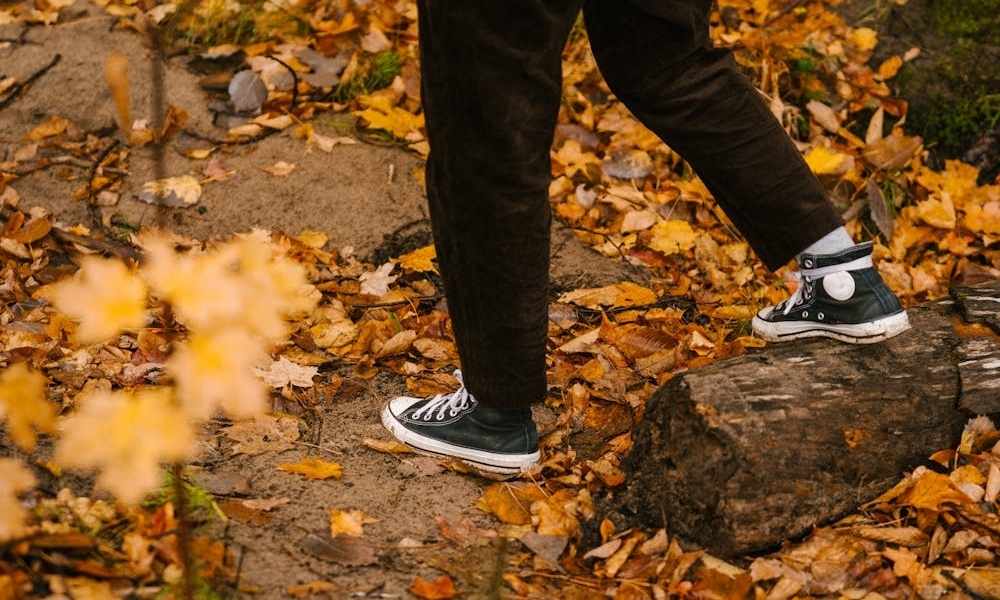
Outdoor shots can be taken with or without a model. You can experiment with the angles, background, and lighting for outdoor shots. You can create a sense of lifestyle and context in this image style. For example, you can take shots of a pair of hiking boots on a rugged trail to give the shoes an adventure vibe.
You can also show customers how they can use it or style it in real life. For that, you can use props to create a theme. Pair up running shoes with a fitness watch, water bottle, and athletic wear. You can arrange them creatively on a jogging path or make the model wear the shoes and complementary accessories.
You should make the best use of negative space in your lifestyle images. Surrounding areas around the shoes will help to develop the context and enhance the visual appeal of your theme. For this reason, leave enough space in your frame. You can establish a story and encourage customers to form emotional connections.
Shoe Photography Tips
Every product requires some specific techniques that can make its shape, texture, and overall appearance unique and eye-catching. Since shoes are three-dimensional products, photographing them is a bit challenging.
Here are a few shoe photography tips to help you capture amazing photos of footwear.
Select The Right Background
You need to be careful when choosing your background. Your headache regarding selecting the best background will be gone if you plan to replace it with a background removal service. However, if you want to keep your original background, then you have to choose the one that complements your shoes.
When selecting the background, make sure you use a solid-color background without any distracting elements. If you are having trouble deciding which colors will best showcase the footwear, you can always go with a white background.
Adjust Your Frames
Shoes come in different shapes and styles. You will not get the best shot for all these designs from one specific angle. But you can use your creativity and versatile framing to highlight their best features. You can experiment with different angles and perspectives. For example, low-angle shots can show the unique design on the soles and the lower side of the shoes. On the other hand, high angles can draw attention to the shape and upper side design. So, adjust your framing carefully to bring out their best features.
Pay Attention to Details
Customers prefer to see the intricate details when they purchase shoes online. You can attract customers toward your brand by showcasing the fine design elements. Use macro lenses to focus the texture, stitching, and other embellishments when you take the close-up shots. Make sure shadows or excess lighting don’t affect the details.
Take Different Types of Shots
Capture different types of shots to explore your creativity. You can try various angles, perspectives, and styles. Take the shots from the front, back, side or 45 degrees. You can make your images more exciting by using props. Add similar or contrasting color props to enhance the visual appeal.
You can also experiment with the position of the shoes. Attach the shoes with strings to give them a floating illusion. You can also arrange shoes of the same design in different colors or shoes of the same color but with different designs for group shots.
Avoid Flat-Lay Shoot
Flat lay is a great technique to showcase the majority of the eCommerce products except footwear. Shoes often look more appealing and engaging when photographed from an angle or at a closer distance. In contrast, when shoes are placed flat, they lose their appeal to attract customers. Moreover, top-down shoe photography makes the images lifeless as the details become difficult to see. For this reason, it is best not to capture flat lays for marketing the shoes.
Essential Post Production Tips for Shoe Photography
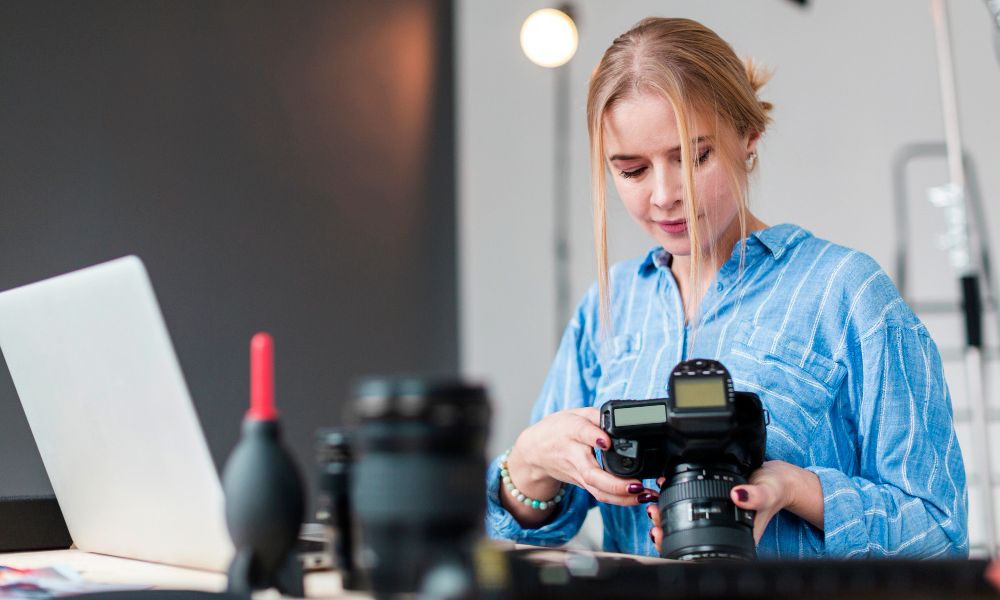
You need post-production to make sure your shoes look their best. Photo editing helps to refine the details, enhance visual appeal, and fix any imperfections. The following are some basic retouching techniques you need for professional shoe photography.
Adjust Brightness, Contrast & Sharpness
Your images may have issues with exposure. Underexposure is not always an issue. Your images can have overexposure problems due to excess lighting. You need to adjust the brightness to balance your exposure. You may also need to customize the contrast and sharpness to enhance the details and overall visual appeal.
Create Natural-Looking Shadows
Shadows make shoes look natural. But bright lighting in the photography setup can either remove or distort the natural shadows. You can solve this issue by using a shadow making service. This post-production technique can create natural shadows and give the images a realistic vibe.
Retouch Your Image & Remove Imperfection
Your shoe photographs may have imperfections like scratches, spots, or dust. These small flaws can affect the impression of the footwear. Besides, color accuracy is another common issue in product photography. In most raw images, colors either appear too bright or muted due to lighting conditions, camera settings, or other factors. You need photo retouching to fix all these flaws and give the shoes a polished look.
Take Professional Help
You should seek help from professional photo editing service providers to retouch the images for the best results. Professional editors are experts at using Adobe Photoshop. They can replace the background, remove imperfections, maintain color accuracy, and fix other issues precisely. You will get high-quality images that can beat your competitors. Expert editors can also resize and optimize your images to meet the requirements of various eCommerce platforms.
Frequently Asked Questions About Shoe Photography
What is the best background for shoe photography?
The best background for shoe photography is a clean and clutter-free background. Usually, for eCommerce sites like Amazon, a white background is considered the ideal one. However, for social media marketing, you can use other neutral solid colors, such as beige, pastels, or other colors that complement your shoes.
What type of camera is best for shoe photography?
A high-resolution DSLR or mirrorless camera can be the best for shoe photography. Make sure the camera has a large sensor, manual controls, and macro lens compatibility. You will get cameras with all these features in both high-end and budget-friendly options. Some of the popular models for product photography are the Sony A6100, Fujifilm X-S10, and Sony RX100 VA.
Conclusion
Shoe photography is an art. You need creativity, patience, and a keen eye for detail to master the skills of this art. Whether you’re new to product photography or looking for ideas to improve your skills, our shoe photography ideas and tips will help you capture captivating images that drive sales.
Keep on practicing to polish your shoe photography skills for your upcoming photoshoot!
