

- September 30, 2024
- by Isaac Travis
- Tips
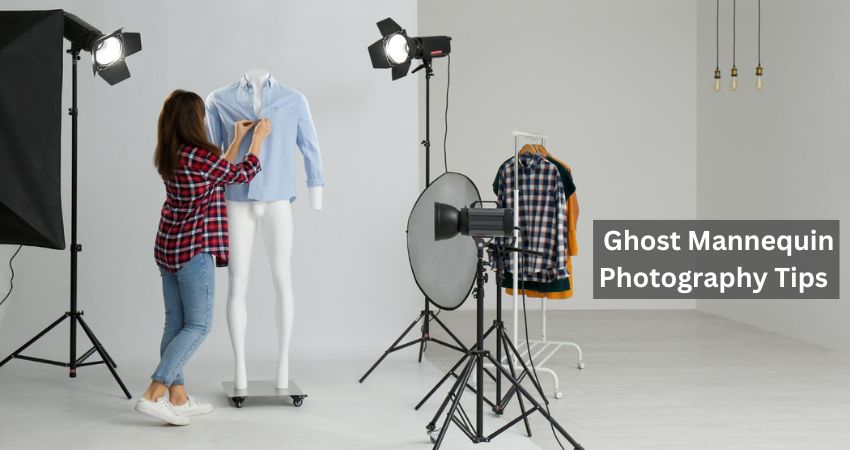
You might have seen photographs of shirts or dresses where it looks like they are worn by a model or mannequin, but the body is invisible. These types of images are known as ghost mannequin photographs. You can use this trendy floating apparel image style for new startups and eCommerce businesses to promote the clothing collection.
However, the ghost mannequin photography technique is a bit complex as it is a combination of great photography and editing efforts. In this blog, we’ll walk you through some strategies and techniques to achieve professional-quality photographs that will make more sales and grow your business.
Table of Contents
ToggleWhy Do You Need Ghost Mannequin Photography?
Selling clothing items consists of unique challenges compared to other products. Shoes, jewelry, cosmetics and other types of products are mostly sold based on their looks and packaging. But customers look for many other information apart from the visual appeal of the garments.
One of the most important things that matters for customers to purchase clothes online is the natural shape, fit and how it drapes on the body. They can visualize the clothing items on their own bodies when they see a real person wearing them. Since working with models is expensive, brands use mannequin to cut their cost.
However, the biggest disadvantage of working with mannequins is distraction. Also, it fails to create an emotional connection with customers. The best way to overcome these drawbacks is the ghost mannequin photography technique.
Let’s explore the benefits you will get from ghost mannequin photography to help you understand its need in the clothing industry.
- Ghost mannequin is a cost-effective technique of showcasing apparel. You can get a realistic view of the fit of the clothing products just like the model clothing photographs.
- The clean and high-quality ghost mannequin effect makes the products look premium and professional.
- Facial expressions, poses and backgrounds are the common elements that can create distractions. Since none of these are visible in ghost mannequin photos, the focus is entirely on the garment.
- The cuts, designs and overall style of the dresses are clearly visible in the images, encouraging customers to engage with the apparel more deeply.
- The natural flow, drape and fit of the outfit help customers develop realistic expectations about the product, resulting in lower returns.
Ghost Mannequin Photography Tips for Perfect Product Shots
Ghost mannequin photography can be a bit difficult for beginner photographers, as it requires advanced shooting and retouching skills to ensure perfection. But if you know the strategies well, it will simplify the process and make your work much easier.
The following are the most effective ghost mannequin photography tips for mastering the technique and streamlining your workflow.
Choose The Right Model Or Mannequin
The star element of the ghost mannequin photography is the invisible shape of the human body. For this reason, you must begin with choosing the right body shape to ensure the clothing products are displayed accurately. It’s not necessary to choose a mannequin for the shoot. You can also take the shots on model.
However, in the case of selecting mannequins, you must take the following factors into consideration:
- Mannequins come in a variety of body shapes and sizes. Your selected mannequin should have a natural human body shape and perfectly fit your clothing items.
- Body parts like arms or legs may not always be necessary to use in the shot. So, choose a mannequin that can be easily adjusted or disassembled.
- Avoid mannequin that have shiny body, as it can can create reflection in the image. It’s best to choose a mannequin with a matte finish.
- The ideal color of mannequin for ghost mannequin photography is white. It makes cutting off the mannequin during post-production easy and less time-consuming.
- Considering the poses of the mannequin is also necessary. A neutral pose will make your clothes look professional without any distractions.
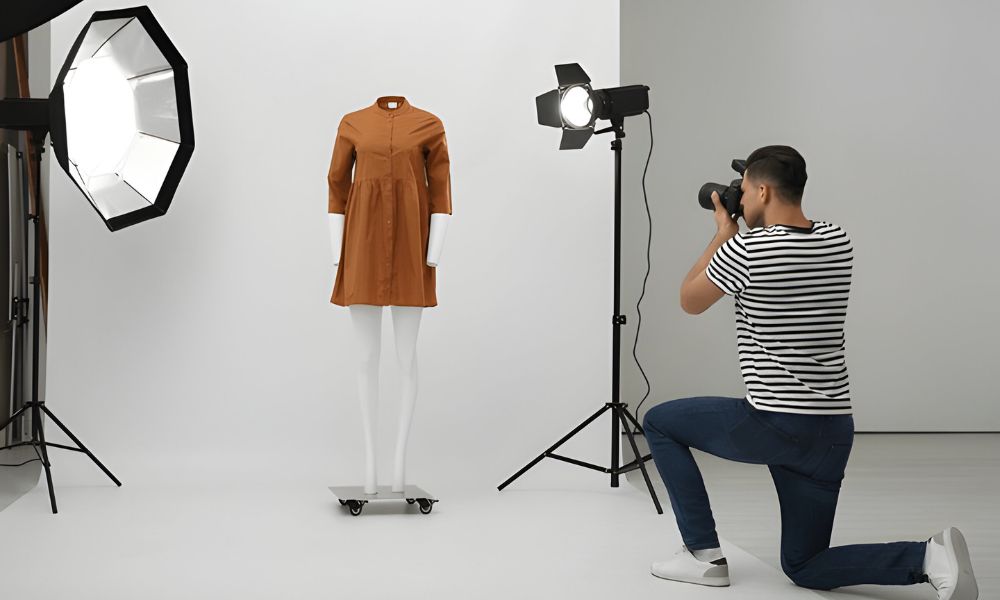
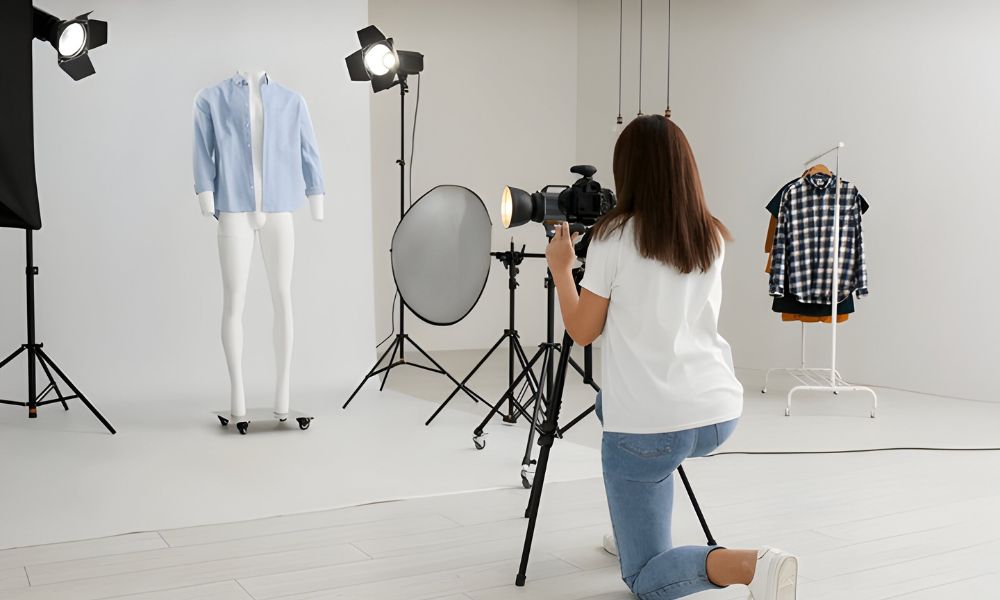
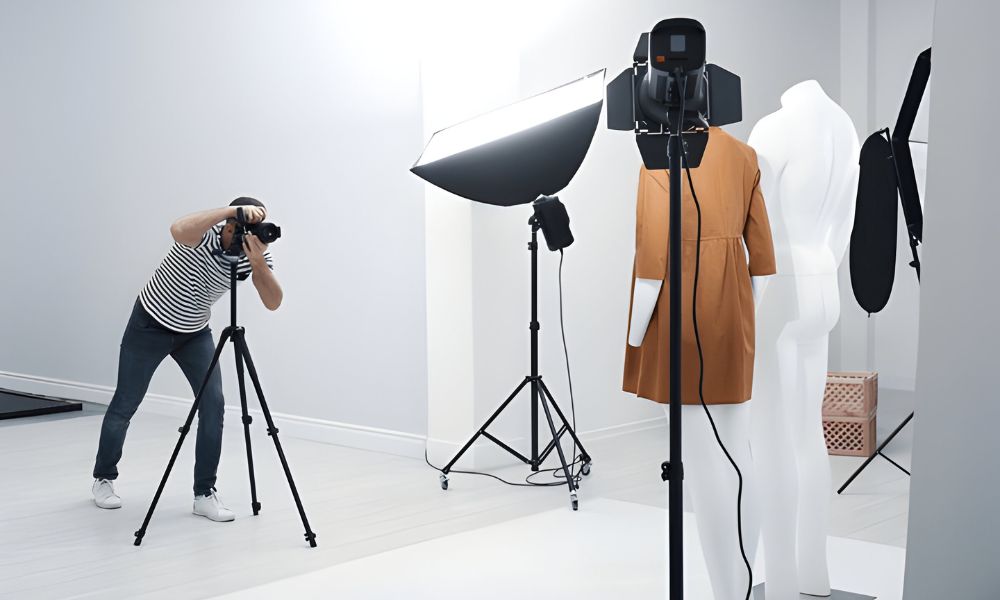
Use The Right Equipment And Setup
Ghost mannequin shots are usually taken indoors in a studio setup. Don’t you have the budget to rent a studio? No worries. You can create one in your office or home with the right equipment.
Here is a list of equipment you will need to capture professional-quality ghost mannequin shots.
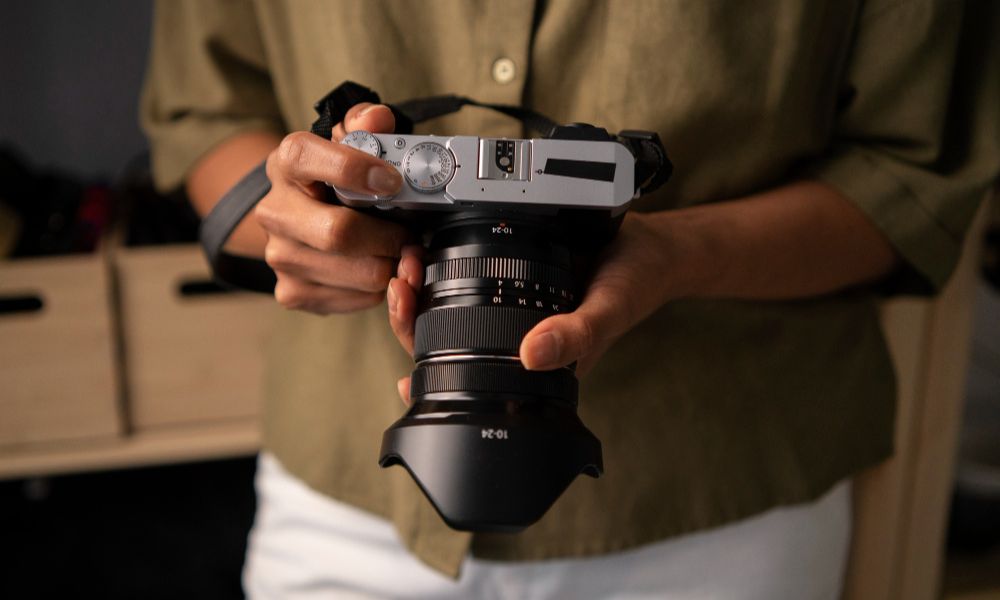
Camera
The first and most important equipment you need is a high-quality camera. A high-resolution mirrorless or DSLR camera can capture the fine details of the garments, such as the texture of the fabric, stitching and intricate design elements. But purchasing a high-end camera can be quite expensive. You can use your smartphone in case you can’t afford to purchase a camera at this moment.
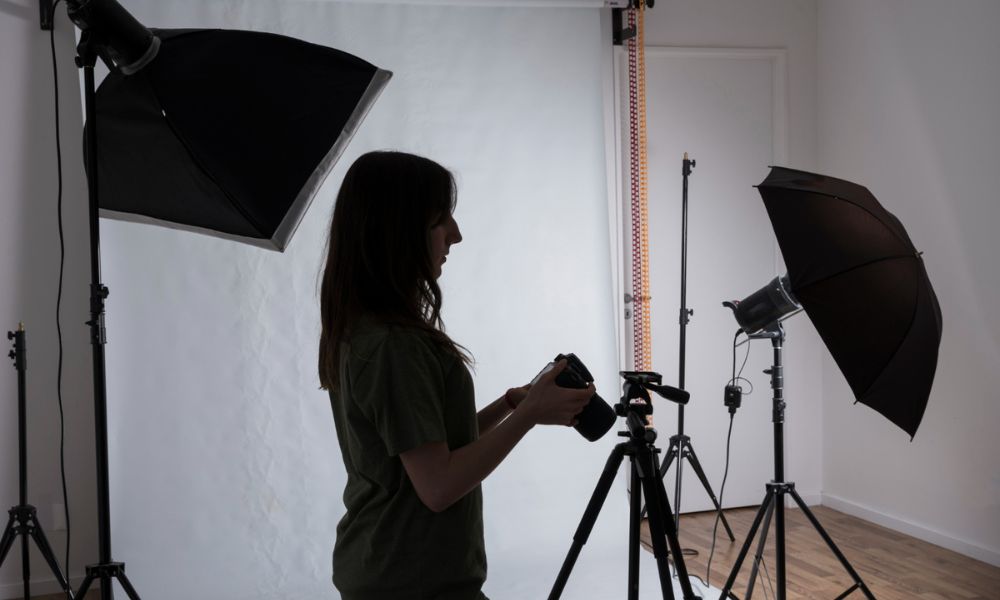
Lighting
The reason behind the major differences in colors and details in product photography is lighting. You need proper lighting to highlight the details of your garments as well as capture the original color of the outfits. For studio setup, it is best to use artificial lighting instead of natural light. Artificial lighting gives you complete control over the intensity and direction. You can adjust the lighting based on your needs and preferences.
You can use continuous light such as bulbs or LEDs as your light source. Make sure you use three light sources to make the photography setup bright from every corner. Apart from light sources, you need diffusers and reflections to spread the light evenly throughout the setup and reduce harsh shadows.
Backdrop
Background is not a concern for ghost mannequin shots, as it will be removed during editing. However, it is best to take the images against a white background. Usually the final outputs are placed on a white background to make the images look professional and distraction free. Taking the shots with a white backdrop in the first place makes it easy to separate the subject from the background.
Tripod
You need to take the shots from a specific distance and angle depending on the clothing items. Although you can capture the images handheld, we recommend you to use a tripod. This is because you may have to move a lot to adjust the outfits on mannequin or for other purposes. A sturdy tripod helps to keep the camera stable in a specific position and capture sharp images. This will save your time of finding the angles every time you move.
Camera Settings For Ghost Mannequin Photography
The latest digital cameras have several automatic features, such as autofocus, auto white balance and many more. Instead of relying on these automated features, we would suggest you to use manual settings to capture the best shots. Here are the basic camera settings you can consider as your starting point and adjust later if necessary:
- ISO: Keep your ISO minimum as high ISO can create noise in the images. Usually the minimum ISO value in most cameras these days is 100. You may need to increase ISO if doing the shoot in a low-light condition.
- Shutter speed: A shutter speed of 1/125s is enough to capture sharp images. This is the standard speed for photographing stable subjects.
- Aperture: Your goal in capturing ghost mannequin shot is to keep the entire outfit in focus. For this reason, it is ideal to use a narrow aperture between f/8 and f/12.
- White Balance: You can use a white or gray card to set the white balance manually. This is necessary to ensure you achieve accurate color and make the garments look true to life.
Style Your Cloth For The Best Result

The best way to enhance the visual appeal of your outfit is to style it properly. Before the shoot, you must iron the clothes to make them smooth and crease free. Also, remove stains, lint and other fine imperfections to make the photographs appear professional. You can use pins in the back panel to give the front side an attractive shape. Layering the outfits will make the garment appear more structured and visually appealing.
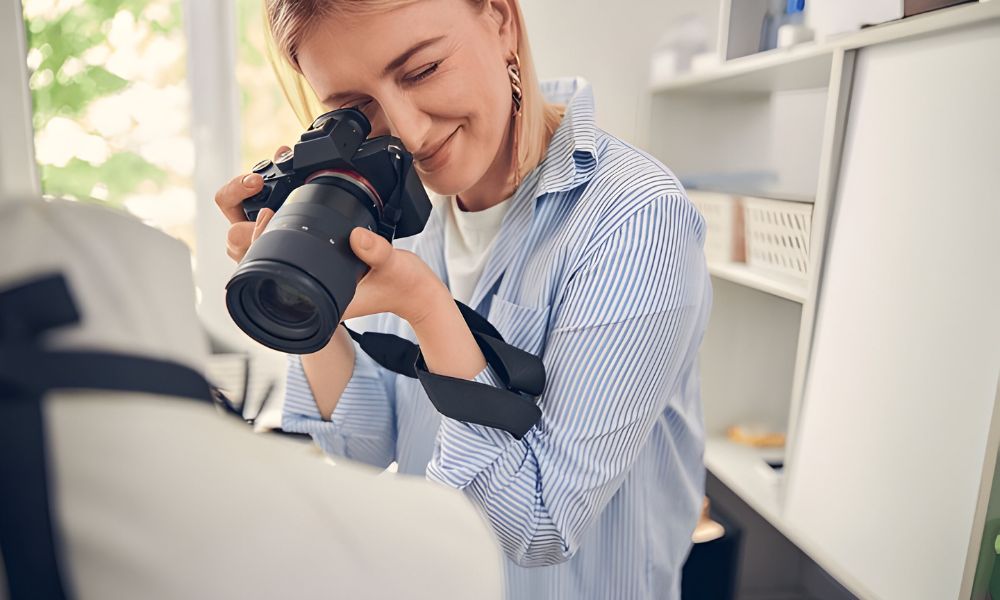
Time for the Final Shots
Your camera placement makes a big difference in your final outcome. Even a slight change in camera angle can make the outfits look distorted. The distance between the product and the camera for short- and long-length outfits will not be the same. Besides, for t-shirts, blouses or jackets, set your camera at chest level. On the contrary, for pants, trousers or shorts the camera should be placed at the hip area.
Capturing test shots is considered an important step in emphasizing attention to detail. Hence, you should take some test shots to see how your images are turning out before taking the actual shots. Its best if you connect your camera to a computer or laptop. These images on a large screen will help you to detect the flaws in lighting, angles and overall composition. You can make the necessary adjustments based on the demands of the situation.
Capture Images from Multiple Perspectives
Customers look for a comprehensive look before ordering clothes online. When the outfits are on a model’s body, customers can see only the outer sides of the dresses, such as the front, back and side views. But for ghost mannequin images, you need to capture the inner sides too.
For this reason, you would need at least 4 images to create a perfect ghost mannequin image. Among the four images, one image is the front view and the other is the back side of the outfit. You have to take these shots on a mannequin. The rest of the two shots are the inner views of the outfit. These shots are usually taken on a foam board and used as filler to cover the void after removing the mannequin.
Take Closeups for More Detail
Clothing product photography is about showcasing the fine details that make an outfit unique. No matter which photography techniques you are using, this is a must to make your clothing products sell online. Along with showing off the shape, you should take closeup shots to highlight the zippers, cuffs, inner linings and other details that can make customers interested in your product. These additional visual details can be the deciding factor that sets your products apart from competitors and helps your business thrive.
How to Edit Ghost Mannequin Photos
The photoshoot is the tip of the iceberg in ghost mannequin photography. The real game changer is the editing process, where your mannequin will be removed to give the garments a professional appearance. The following is a step-by-step guideline on how you can remove the mannequin using Adobe Photoshop.
Step 1: Create a Duplicate Layer
First open the image file of the front side of the outfit in Photoshop’s workspace. An automated ‘background’ layer will be created that will contain your original image file. As this is a complex editing task, you have to work in layers. You can right click on the ‘background’ layer to get the duplicate layer creation option or simply drag the layer to the layer icon in the bottom panel.
Step 2: Create a New Layer
Click on the Layer icon to create another layer. Place this empty layer in between the ‘Background’ and ‘Background Copy’ layers. You have to fill this layer with white color. For that, you can use the Paint Bucket tool.
Step 3: Draw Path around the Edges
Use the pen tool to draw the paths on the edges of the clothing product precisely. These drawings should be done on the ‘Background Copy’ layer. For straight areas, you can use anchor points at a distance. But for curves, you have to be more careful.
Step 4: Add Mask to the Background Copy Layer
After successfully creating the outline selection, you have to add a mask to this layer. Keeping the layer selected, click on the mask icon in the bottom panel. This will make the outfit separate from the background.
Step 5: Repeat the process
You have to repeat the process with all the images you need to create the comprehensive look of the garment.
As the collar and the backside inner neckline will be visible in the image, you can reduce the opacity of that neckline image layer to identify the areas you need to cut off. After cutting off the neckline, add a mask to the layer to make it separate from the background as well.
Step 6: Merge the Mask Layers
This is the most important step where you will create the front look of the ghost mannequin image. You have to press on the ‘background copy’ layer that contains the isolated front side of the image with the empty backside neckline, at the same time the ‘Alt key’ and then drag it to the inner backside neckline layer. This will automatically merge both layers and give the perfect front side look with the visible inner neckline of the backside.
To get the backside view, you have to repeat this process with the layer masks that contain the backside view and the inner view of the front side that should be visible in the image.
Step 7: Make Adjustments to Fix the Errors
You may need to bend the curved areas of the collar or sleeves. For that, you can click on any selection tool, the click right button and press on Warp. This will give you the option to adjust the control points to make the adjustments.
Step 8: Do the Color Correction
You may see the difference in colors in the merged images. This is a common issue when both images are shot in different lighting or angles. To solve this issue, you have to create a new adjustment layer by clicking on the black and white circular icon in the layer menu. You can use the curve tool to make adjustments.
Step 9: Save the image
After ensuring the merging points are flawless and the images don’t have other flaws, you can save the image. Click on the ‘File’ in the top menu to get the image saving option.
The steps we have discussed above are just a simple guide to help you understand the basics of the ghost mannequin editing process. However, you may face advanced challenges depending on your clothing items. Even with using the right tools and techniques, you may not be able to ensure perfect alignment.
Hence, it is best to hire a professional photo editing service provider to get professional-quality images. They have expert photo editors who can do the editing precisely and provide you with the images faster. This will save you a lot of time, which you can invest in doing other tasks.
FAQ
What Is Ghost Mannequin Photography?
Ghost mannequin photography is a popular clothing photography technique used in the eCommerce platform. In this technique, clothes are photographed on a model or mannequin. Later on, the outfit is separated from the model’s or mannequin’s body to give it a ghostly appearance. This is one of the best alternative model photography techniques that eCommerce owners use these days.
What Apps Are Used For The Ghost Mannequin Effect?
Creating the ghost mannequin effect requires a photo editing tool with advanced features that can carry out detailed post-production tasks. The most used app for creating the ghost mannequin effect is Adobe Photoshop. There are other apps which can produce similar high-quality results, such as GIMP, CorelDRAW, Pixlr and many more.
How Much Does Ghost Mannequin Photography Cost?
The cost of ghost mannequin photography depends on the various service providers. However, you can be ensured that it costs way less than you would need to spend for model photography. In Masking Aid, the price of ghost mannequin effect starts at $1.10 and can go up to $5.99 per image depending on the needs and complexities of the editing. You can try our free trials to test our top-notch service quality.
Conclusion
Ghost mannequin photography is a time and cost-effective way to display your clothing items. Compared to other clothing photography techniques, this image style uses different photography techniques and strategies. We’ve discussed the basic strategies you need to know to create successful ghost mannequin photos in this blog. Make sure you apply the insights you have gained from here to master this skill and create awesome images in your upcoming photoshoot.