

- January 19, 2024
- by Isaac Travis
- Tips
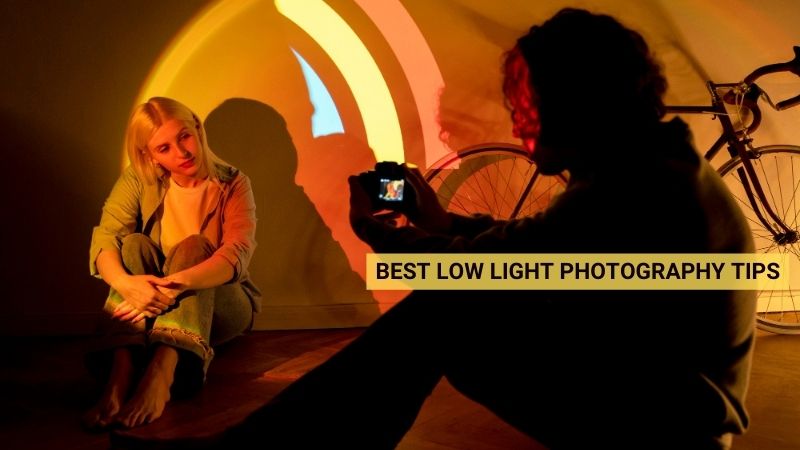
Photography is the art of capturing light. You need light to make things visible in your photographs. But how can you capture clear images if you don’t have enough lighting? Well, you need to follow some tricks and techniques.
Today, we will share with you some effective low light photography tips recommended by professional photographers. You will also learn about common low light conditions and mistakes you must avoid to capture incredible images despite the lack of enough lighting.
Let’s learn the low light photography tips to upgrade your skills.
Table of Contents
ToggleCommon Low Light Situations
You have to face unique challenges when doing photography in low light situations. However, you will get numerous opportunities to show your creativity as well. Before you start your low light photography, you must have an understanding of different low light scenarios. It will help you to create proper plans and adjust your photography techniques.
Let’s learn about various common low light situations.
Normal Low-Light Situations
In normal lighting conditions, you will have a sufficient amount of light sources. However, the intensity won’t be as high as on a bright sunny day. Here are a few common situations:
Dusk and Dawn
- Golden Hour: This is the time after sunrise and before sunset. The position of the sun remains low on the horizon. During this time, you get soft golden light. As the rays of the sun fall on earth from a lower angle, the intensity of this light remains low.
- Twilight: This low light situation occurs before sunrise and after sunset. During this time, the sun remains below the horizon. But the sky remains illuminated with soft and dim light.
Indoor Spaces with Lights On
Indoor places such as home, office, restaurant, art gallery, museums and so on have artificial light sources. These places use LED lights, lamps, overhead lights, accent lights, and many other light sources. The intensity of these continuous artificial lights are low compared to natural daylight and strobe light.
Overcast Days
In cloudy, foggy, rainy or snowy weather, the sky remains covered with clouds and mist. Sun rays cannot pass these clouds directly. Instead, the rays get scattered because of the presence of tiny water droplets. For this reason, the sunlight becomes less intense and softer. These low intensity lights affect your range of visibility and make it more challenging to capture details.
Forest or Jungle During Daytime
Trees and leaves block sunlight from directly entering into dense forests. You will experience shadows in the majority of places. You may need to use artificial lighting to do photography in this shaded and dimly lit environment.
Extremely Low Light Situations
In extreme low light conditions, you will have minimal to no light sources. The intensity will be too low. Here are a few situations:
Nightscapes
- Starry Skies: You need complete dark conditions to capture stars, auroras, the Milky Way, and other celestial objects in the night sky. You will get better and clearer images in areas away from cities. For example, dessert, mountain and other locations that have no light pollution.
- Cityscapes: Cities during the night use artificial lights to illuminate the areas. Lights used in buildings, streets and vehicles can brighten up a certain range of areas. Moreover, the neon lights used in front of stores provide a dramatic effect.
- Moonscapes: Moonlight is less intense compared to sunlight. During the full moon, you will get a soft and diffused light with longer shadows. You need specific camera settings to balance the shadows and highlights in your images.
- Wildlife: Wildlife areas such as jungles, grasslands, and mountains usually have the moon as the only natural light source. You need specialized equipment like flash light, infrared or night vision cameras to take clear shots.
Subterranean Areas
Caves, basements, and underground tunnels usually have minimal to no natural light. Exploring and photographing these areas requires artificial lighting such as flashlights or lanterns. Your challenge to capture clear images will increase in underwater caves. You will need advanced lighting techniques and specialized equipment to maximize the visibility of these areas.
Haunted Attractions
Abandoned houses, cemetery and other haunted spots look best in low light shots.
Usually these places don’t have power sources. You need to use lighting carefully to create a realistic haunted mood. You need to have an understanding of photography techniques and camera settings to conduct fantasy or horror-themed photoshoots.
Top 10 best Low Light Photography Tips
Low light photography has numerous challenges. However, you can overcome them with the right photography techniques and camera settings. Let’s explore the top 10 low light photography tips to take your skills to the next level.
Adjust ISO Settings
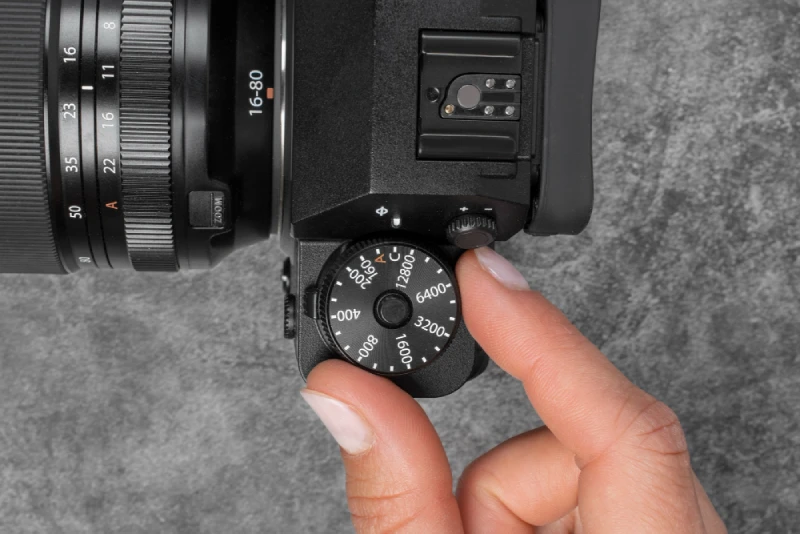
ISO determines how much your camera sensors are sensitive to light. You can get bright images in dark conditions just by increasing your ISO value. Lower ISO in low lighting means your images will be underexposed. That’s why you should adjust your ISO setting properly to make your exposure level balanced.
In normal low light situations such as twilight, golden hour, overcast days or indoor settings with artificial lights, you can set the ISO between 400 and 800. You can increase this value to around 1600 if you need more brightness.
On the other hand, you need 1600 to 6400 and above ISO for extreme dark conditions. These higher ISOs are required for situations that have little to no light, such as nighttime photography, astrophotography, inside tunnels, caves and many more. However, higher ISO means your images will have more noise. Don’t worry. You can adjust it during post processing.
Add A Flash
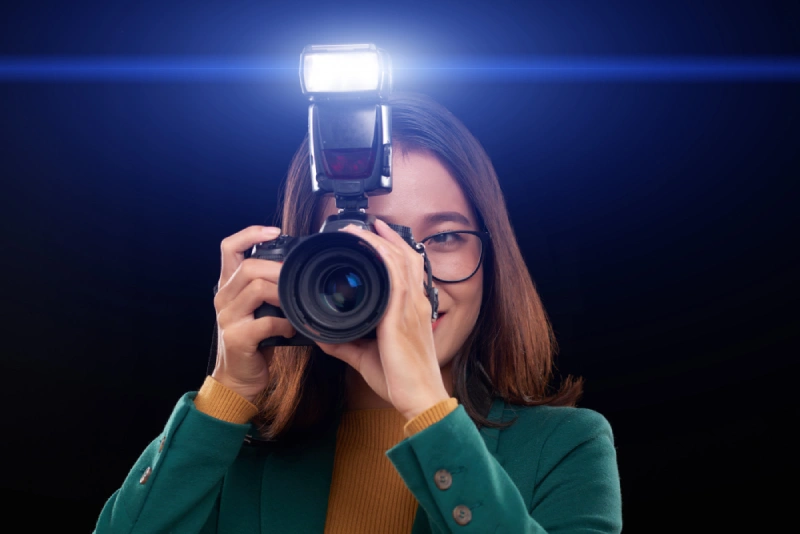
You can use a flash to illuminate your low light setting. However, the biggest disadvantage of using flash is that it will create harsh shadows. Moreover, your image can become overexposed and have unwanted shadows.
You can minimize the harshness of the flash by using a diffuser. You can set up a softbox or umbrella diffuser with your flash. It will make the light soft. You have to use reflectors as well. It will solve the issues with the shadows. You have to place the reflectors opposite your flash. This will bounce back the light and make the setting well lit.
Also, use the auto white balance mode. It will automatically adjust the white balance and neutralize the color cast. While you may not get the perfect color balance, you can adjust it during post production.
Use Slower Shutter Speed
A long or slow shutter speed means light is entering your camera sensor until your shutter is open. Your photos will appear brighter when you use a slow shutter speed in dim lighting. However, make sure both your subject and camera remain still. Even a subtle camera shake will make your photographs blurry. For this reason, it’s better not to operate your camera handheld when your shutter speed is lower than 1/125th of a second.
Use a Wider Aperture
Wide aperture is one of the safest techniques to ensure your images are of high quality in low light conditions. High ISO can increase noise or disrupt color accuracy. On the other hand, a slow shutter speed can make your image blurry because of camera shake. You can capture clear and bright images with lower ISO and faster shutter speed by using a wide aperture lens.
Aperture is the opening of your lens through which light enters your camera’s sensors. A wide aperture will allow more amount of light to let in. As a result, you will have bright images even in low lighting. You can set your aperture from f/1.2 to f/2.8 for great shots.
However, depth of field can be an issue for wider aperture shots. If you don’t want a shallow depth of field, then you can adjust your aperture, ISO and shutter speed altogether to create your desired photography style.
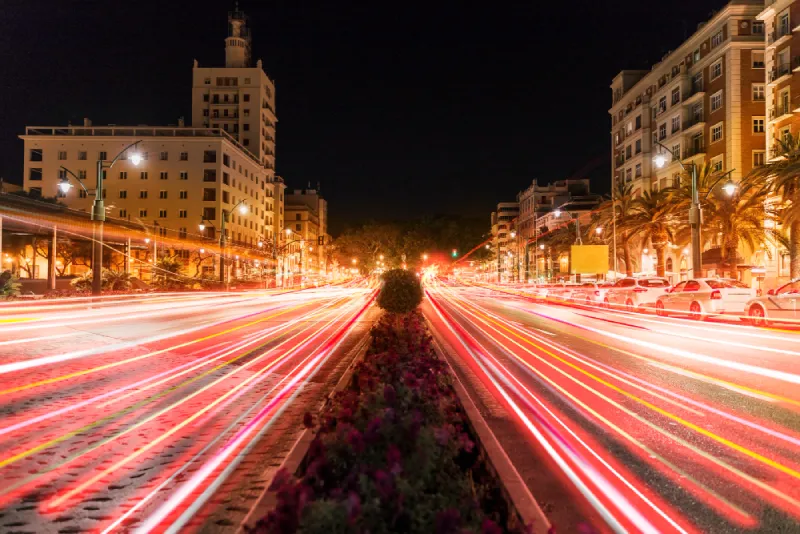
Shoot Long Exposures
Are you wondering how to shoot in low light in a creative way? Then you must try the long exposure technique. You can use this method to shoot light trails in the city streets or capture star trails. This is a great technique to capture motion. Long exposure will allow for more light, despite using a smaller aperture. So, if you want to achieve a greater depth of field, this would be a great option.
Use a Faster Lens
The best lens for low light photography is a faster lens. This type of lens usually has a wide aperture around f/1.4, f/1.8 or f/2.8. You can use it to capture clear images with a faster shutter speed. Moreover, this will reduce the chance of camera shaking. It’s worth mentioning that you will be able to create amazing bokeh effects as well.
Shoot RAW
You should always shoot in RAW mode in low lighting. You can maximize your image quality by recovering details from the underexposed areas. Image details usually get lost when they are compressed into different file formats, such as JPEG, HEIF, etc.
Shooting RAW has many other advantages. For instance, you will have full control over the white balance. You can adjust it anytime to improve color accuracy. Also, your image data will remain secure and allow you to do non-destructive editing. That means you can revert the edited images to their original form without losing quality.
Convert Your Images to Black and White
Are you concerned about colors or white balance in low light? Then black and white images are your best option. This classic photography style gives the images an artistic vibe. Lack of strong contrast is a common issue in low light settings. But you can enhance the contrast in black and white images.
Moreover, you won’t have to worry about color noise due to the high ISO. Usually, noise tends to blend into the grayscale tones. So you will have clear and aesthetic photographs.
Use Stabilization & Tripod
Modern lenses have advanced features like image stabilization (IS). You can use it to reduce camera shake and capture sharp images. You can take long exposure shots as well as use a low shutter speed. This is an amazing feature if you need to operate your camera handheld.
You can also use a tripod to keep your camera stable and prevent camera shake. Sturdy tripods are usually a bit heavy. You may feel annoyed to carry it along with you. However, it is worth carrying for low light photography. A tripod provides flexibility with your camera settings. You can shoot in any mode you want.
Pressing the shutter button can cause a slight camera shake. So it is better to use a remote shutter release or your camera’s self-timer. Also, make sure you keep the image stabilization off when shooting with a tripod. This is necessary because the IS feature always tries to minimize camera shake. So when your camera remains stable on a tripod, it will try to make the camera more stable and create a slight shake.
Post-Processing
You can capture images close to perfection by adjusting your camera settings and using different techniques. But the cherry on top that fixes the flaws in the images is the post-processing software. You can reduce the excessive noise that is caused by using high ISO. You can also adjust color, contrast, sharpness, brightness, shadows, highlights, and many more features.
However, it is advised to take the shots at the best quality. You can make the images look unreal if you push the editing efforts too far. Also, make sure to edit images in RAW format. This will give you more image data and ensure high quality.
Editing for low light photography

Are you doing low light photography for commercial purposes or photo exhibitions? Your low light photographs require editing to look professional. These images generally have issues such as poor exposure, noise and hidden details. Only expert hands can edit these images to make them flawless and of high quality.
You can provide your photographs to a professional photo editing company. They have expert editors skilled in Adobe Photoshop. They can fix the flaws in your images, such as balancing shadows and highlights, correcting color casts for a natural look, precisely sharpening to enhance clarity and many more.
Moreover, you can use image masking service to enhance the detail of your subject. In normal low lighting situation shadows can be an issue. You may not get appealing shadows. You can use shadow making service to enhance or add realistic shadows to your images. Consider photo editing as an investment. You can save valuable time and achieve the highest quality images.
Common Mistakes to Avoid in low light photography
Here are a few mistakes you should avoid when capturing photos in low light conditions.
- Not Using a Tripod: A tripod is a must have tool for low light photography settings. It will maintain the stability of your camera and prevent blur.
- Wrong Aperture Setting: You should use wide aperture when the environment has dim light. Using it in places with well lit conditions can make images overexposed.
- Using only Auto Mode: You should use both auto and manual settings to adjust the exposure and other features.
- Relying on Post-Processing: Post processing can only enhance your images to a certain limit. You can’t transform a bad image into a great one.
- Not Using a Remote Shutter Release: You should not touch the camera when you mount it on a tripod. Not even for pressing the shutter button. Use remote shutter release to avoid camera shake.
- Ignoring Light Sources: You can use streetlights, candles or other dim light sources to add interest to your photos. So you should never ignore them for their low intensity.
Frequently Asked Questions(FAQ)
What is low light photography?
Low light photography refers to photographing images in places that have a low amount of light. It doesn’t mean only streets at night, inside a jungle or moonlit deserts. You can do this photography on overcast days or indoor locations with artificial light.
What is the best camera for low light photography?
5 best cameras for low light photography are:
- Sony A7S III: It has exceptional high ISO performance with excellent noise control.
- Nikon D5600: Its APS-C sensor has a good low light sensitivity.
- Canon EOS R6: It has a fast and accurate autofocus feature in low light with Dual Pixel CMOS AF II.
- Fujifilm X-T4: Its in-body image stabilization is effective for capturing sharp handheld shots.
- Panasonic Lumix S5: Its full-frame sensor has a high dynamic range and strong low light sensitivity.
What is the best ISO setting for low light photography?
Low ISO in a low light setting will make your images underexposed. On the other hand, high ISO will increase the noise and make the photos grainy. So, you should stay in the middle ground. You can start with ISO 800 for low light photography. You can take some test shots to check the image quality and adjust the value if necessary.
What is the best lens for low light photography?
The best lens for low light photography is one that has a wide aperture. You can use a 35mm, 50mm or 85mm prime lens with a maximum aperture of f/1.4 or f/1.8. You can also use a zoom lens with wider maximum apertures (f/2.8 or f/4) if you want flexibility in your aperture setting.
Practice!
Low light photography can be challenging. However, with enough practice, you can master this skill. Use our low light photography tips when you shoot. This will help you to control your camera in different conditions. The more you shoot, the better your sense of understanding will develop. You will know how you should set your composition or make the best use of the light sources.
So, practice, practice and practice some more until you become a better photographer in no time.